How to port Android 4.0.3 Ice Cream Sandwich(ICS) on ODROID-7

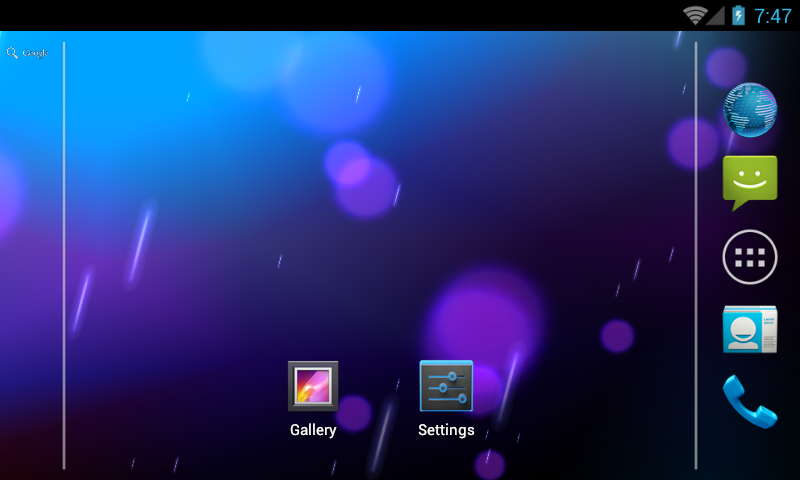
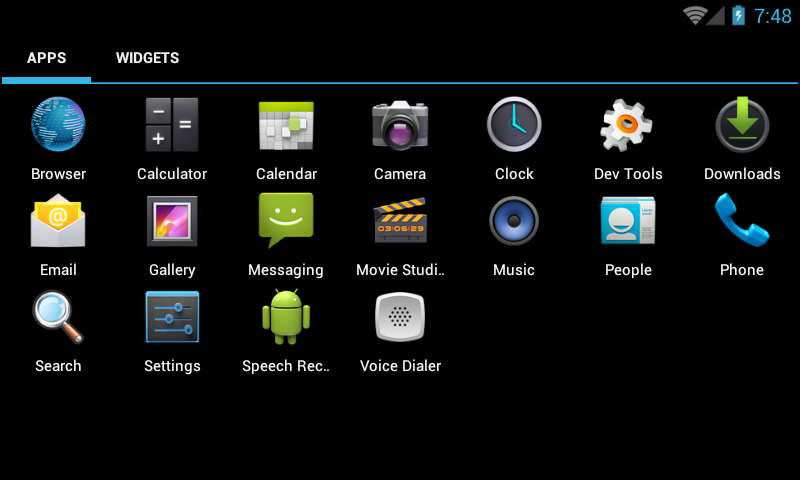
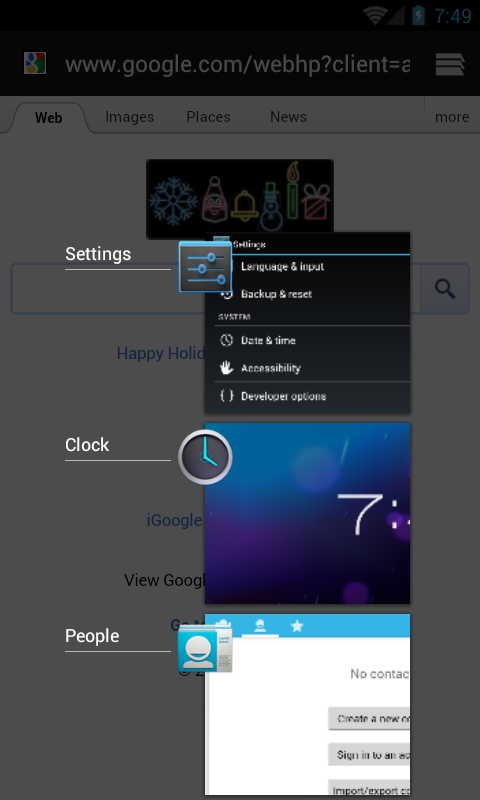
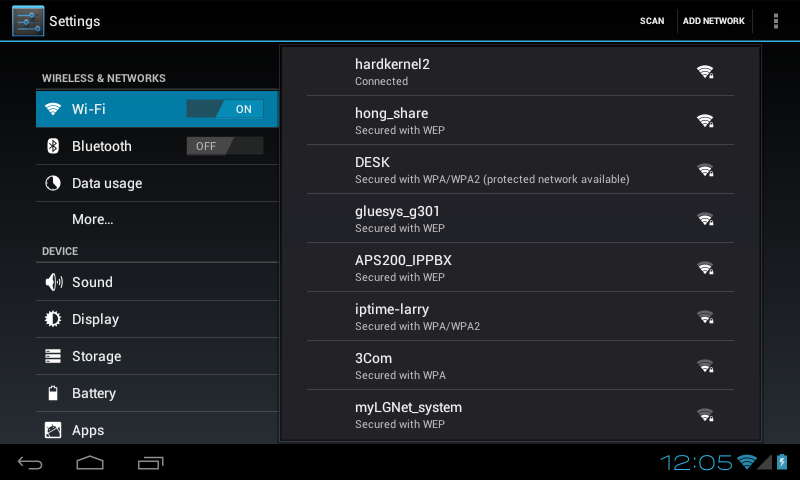
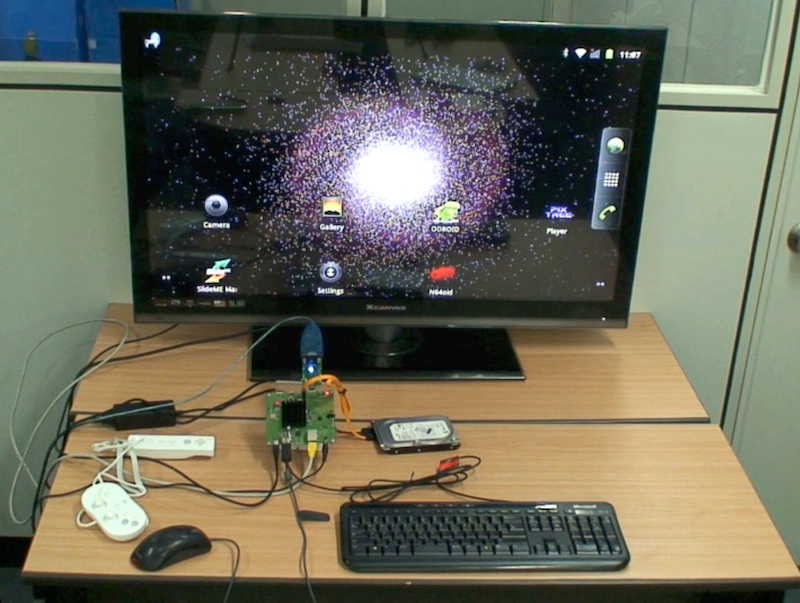
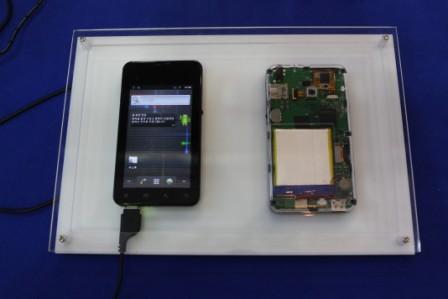
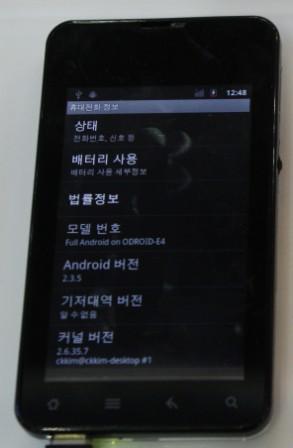
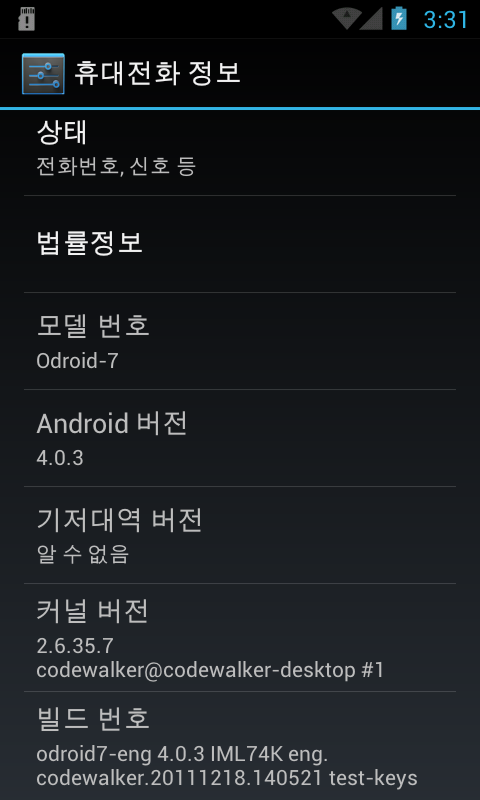
Screenshot of ICS 4.0.3 version information on ODROID-7.
Here is a brief instruction how to port/install the ICS into ODROID-7.
Note, this is a very early version. Unstable and there are many unsupported features.

1. Get the Kernel source code of ODROID-7 (ver 2.6.35)
http://com.odroid.com/sigong/nf_file_board/nfile_board_view.php?keyword=&bid=41

Modify the touch screen driver as below.
kernel/drivers/input/touchscreen/odroid7_MT_touch_portrait.c

169                 input_sync(hkc1xx_touch.driver);
170 
171 //codewalker
172                 input_mt_sync(hkc1xx_touch.driver);
173 
174                 input_sync(hkc1xx_touch.driver);
175 
176 
177 #if defined(DEBUG_HKC1XX_TOUCH_MSG) 
178 printk("%s : Penup event send[x = %d, y = %d]n", __FUNCTION__, hkc1xx_touch.x, hkc1xx_touch.y); 
179 #endif

2. Download GPU device driver source code of Nexus-S from this link.
https://github.com/Kwiboo/kernel_samsung_crespo/tree/master/drivers/gpu
Copy(overwrite) the GPU code to ODROID-7 kernel source and compile it.

3. Get the official Android ICS source code.(android-4.0.3_r1 IML74K)
repo init -u https://android.googlesource.com/platform/manifest -b android-4.0.3_r1
repo sync

4. Get the modified files from below link and overwrite it into /device & /vendor directory of ICS source tree.
http://dl.dropbox.com/u/4485660/ICS.tar.gz
This file contains various patches.

4. Get the modified files from below link and overwrite it into /device & /vendor directory of ICS source tree.
http://dl.dropbox.com/u/4485660/ICS.tar.gz
This file contains various patches.

5. Modify WiFi code as below for internet access.

device/hardkernel/odroid7/BoardConfigCommon.mk

71 #WIFI_DRIVER_MODULE_ARG := "firmware_path=/vendor/firmware/fw_bcm4329.bin nvram_path=/vendor/firmware/nvram_net.txt iface_name=wlan" 
72 WIFI_DRIVER_MODULE_ARG := "iface_name=wlan firmware_path=/vendor/firmware/fw_bcm4329.bin nvram_path=/vendor/firmware/nvram" 

And copy the fw_bcm4329.bin & nvram into proper location.
Modify hardware/libhardware_legacy/wifi/wifi.c

#define WIFI_WAKEUP_CTL_FP "/sys/devices/platform/hkc1xx-sysfs/wifi_wakeup" // 1 -> wakeup on 
#define WIFI_REG_CTL_FP "/sys/devices/platform/hkc1xx-sysfs/wifi_reg" // 1 -> reg on 
#define WIFI_RESET_CTL_FP "/sys/devices/platform/hkc1xx-sysfs/wifi_reset" // 1 -> reset on 
int wifi_set_module_status (char *ctl_fp, unsigned char status); 
int wifi_get_module_status (char *ctl_fp); 
static int insmod(const char *filename, const char *args) { 

int wifi_load_driver() { #ifdef WIFI_DRIVER_MODULE_PATH char driver_status[PROPERTY_VALUE_MAX]; int count = 100; /* wait at most 20 seconds for completion */ if (is_wifi_driver_loaded()) { return 0; } // Wifi power control & wakeup enable wifi_set_module_status(WIFI_WAKEUP_CTL_FP, 1); usleep(10000); wifi_set_module_status(WIFI_REG_CTL_FP, 1); usleep(10000); wifi_set_module_status(WIFI_RESET_CTL_FP, 1); sleep(1); sync(); if (insmod(DRIVER_MODULE_PATH, DRIVER_MODULE_ARG) < 0) { LOGE("insmod(DRIVER_MODULE_PATH = %s, DRIVER_MODULE_ARG = %s) FAIL!!!", DRIVER_MODULE_PATH, DRIVER_MODULE_ARG); wifi_set_module_status(WIFI_WAKEUP_CTL_FP, 0); usleep(10000); wifi_set_module_status(WIFI_REG_CTL_FP, 0); usleep(10000); wifi_set_module_status(WIFI_RESET_CTL_FP, 0); sleep(1); sync(); return -1; } if (strcmp(FIRMWARE_LOADER,"") == 0) { int wifi_unload_driver() { usleep(200000); /* allow to finish interface down */ #ifdef WIFI_DRIVER_MODULE_PATH if (rmmod(DRIVER_MODULE_NAME) == 0) { int count = 20; /* wait at most 10 seconds for completion */ while (count-- > 0) { if (!is_wifi_driver_loaded()) break; usleep(500000); } wifi_set_module_status(WIFI_WAKEUP_CTL_FP, 0); usleep(10000); wifi_set_module_status(WIFI_REG_CTL_FP, 0); usleep(10000); wifi_set_module_status(WIFI_RESET_CTL_FP, 0); sleep(1); sync(); usleep(500000); /* allow card removal */ if (count) { return 0; 

int wifi_set_module_status(char *ctl_fp, unsigned char status) { int fd, ret, nwr; char buf[10]; if((fd = open(ctl_fp, O_RDWR)) < 0) { LOGE("%s(%s) : Cannot access "%s"", __FILE__, __FUNCTION__, ctl_fp); return -1; // fd open fail } memset((void *)buf, 0x00, sizeof(buf)); if(status) nwr = sprintf(buf, "%dn", 1); else nwr = sprintf(buf, "%dn", 0); ret = write(fd, buf, nwr); close(fd); if(ret == nwr) { LOGI("%s : write success (on = %d)", ctl_fp, status); return 0; } else { LOGE("%s : write fail (on = %d)", ctl_fp, status); return -1; } } //---------------------------------------------------------------------------------------------------------------- int wifi_get_module_status(char *ctl_fp) { int fd, ret, nrd; char buf[10]; if((fd = open(ctl_fp, O_RDONLY)) < 0) { LOGE("%s(%s) : Cannot access "%s"", __FILE__, __FUNCTION__, ctl_fp); return -1; // fd open fail } memset((void *)buf, 0x00, sizeof(buf)); nrd = read(fd, buf, sizeof(buf)); close(fd); // read ok if(nrd) { if(!strncmp(buf, "1", 1)) { LOGI("%s : status == 1", ctl_fp); return 1; // wakeup } else { LOGI("%s : status == 0", ctl_fp); return 0; // suspend } } LOGI("%s(%s) : module status == unknown", __FILE__, __FUNCTION__); return -1; } //---------------------------------------------------------------------------------------------------------------- int wifi_module_wakeup_status() { int fd, ret, nrd; char buf[10]; if((fd = open(WIFI_WAKEUP_CTL_FP, O_RDONLY)) < 0) { LOGE("%s(%s) : Cannot access "%s"", __FILE__, __FUNCTION__, WIFI_WAKEUP_CTL_FP); return -1; // fd open fail } memset((void *)buf, 0x00, sizeof(buf)); nrd = read(fd, buf, sizeof(buf)); close(fd); // read ok if(nrd) { if(!strncmp(buf, "1", 1)) { LOGI("%s(%s) : module status == wakeup", __FILE__, __FUNCTION__); return 1; // wakeup } else { LOGI("%s(%s) : module status == suspend", __FILE__, __FUNCTION__); return 0; // suspend } } LOGI("%s(%s) : module status == unknown", __FILE__, __FUNCTION__); return -1; } //---------------------------------------------------------------------------------------------------------------- int wifi_module_wait_time(int waitTime) { LOGI("%s(%s) : module wait time = %d sec", __FILE__, __FUNCTION__, waitTime); sleep(waitTime); sync(); return 0; } 
You will have a new libhardware_legacy.so with above modification.
Please note, bcm4329.ko file should be regenerated with “make modules” command of kernel build and copied to ODROID.
6. Let’s start build the ICS
chmod u+x device/hardkerenl/odroid7/build_android.sh
device/hardkerenl/odroid7/build_android.sh

7. Install the Android system files and zImage and ramdisk-uboot.img as we do for Gingerbread installation.
http://dev.odroid.com/projects/odroid-t/

Tested features
– LCD driver with 3D accelerator
– Capacitive touch screen
– Sound output
– Sound input (Microphone)
– USB ADB driver
– USB Host HID (Mouse/Keyboard)
– WiFi
– MFC driver for media player
– GPS driver
– Accelerometer sensor
– HOME key function
– Backlight Brightness control
– Battery Gauge / Charger driver

To do list
– Camera
– Bluetooth
– HDMI
– Geo Magnetic Field sensor
– NFC

Update!
Modified DPI for tablet mode (density=120)
Softkey enabled
Enabled Home screen rotation
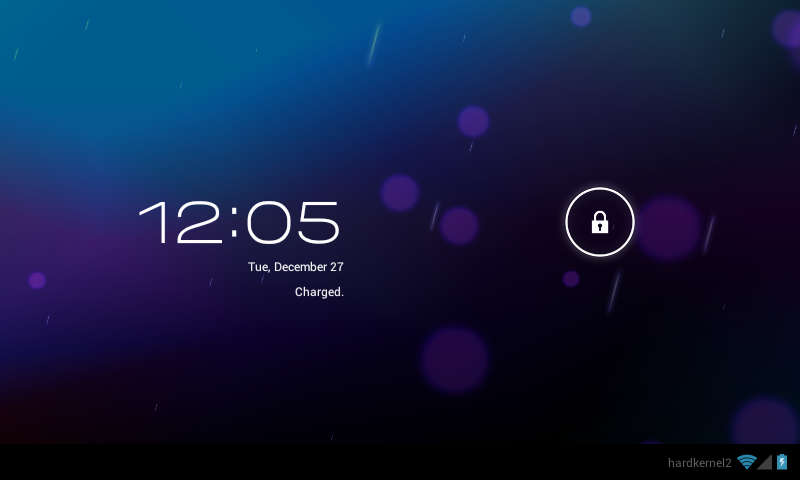


Android PC with ARM cortex-A9 Dual-core !

What do you do with your personal computer(PC)?

We may do …….
– Internet Web browsing
– Email, SNS or Messenger
– Gaming
– Multimedia (Video & Music)
– Productivity
– Education
– And so on……

Yes, most of them are working well with any modern smartphone.
But if it has a large(>20inch) display, high-capacity HDD storage, we can call it a PC. Right?

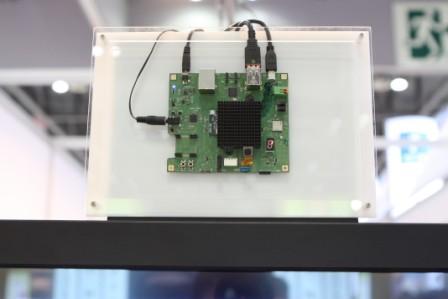
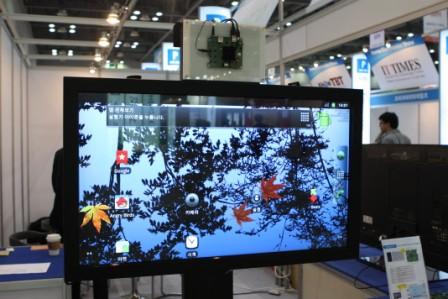
Look at this picture! It looks like a PC. Yeah~~


Key feature of ODROID-PC.
– ARM Cortex-A9 Dual-core 1.2Ghz / Mali-400 GPU-MP 300Mhz
– SATA HDD interface
– Ethernet LAN port
– 4 high speed USB host
– HDMI (1280×720 Android UI)
– WiFi/Bluetooth
– 3Mpixel Camera
– Audio Codec with Microphone

Application of ODROID-PC
– Smart TV
– Set top Box
– Smart interactive Digital Signage
– High end video conferencing system
– High performance embedded Server
– Network attached Storage
– Media player
– Thin Client

Enjoy this video.

Contents of Video.
– Unboxing
– Hardware explanation
– Peripheral installation
– Android booting
– Multimedia test
– Camera test
– Ethernet setting
– N64 emulation with bluetooth Wii controller

Small embedded Linux root file system for ODROID-7/7E

ODROID-7에서 테스트된 리눅스 루트 파일 시스템입니다.
ODROID-E7에도 적용 가능합니다.
Auto-Login을 구현하여, SDL 및 간단한 어플까지 만들어 모두 자동으로 실행하는 실용적인 예제가 될것 같습니다.
How to make a Small embedded Linux root file !

I found a generic embedded root file system with EABI by Googling.
http://ftp.falinux.com/toolchain_ramdisk/recommendation/gcc-4.3.2/
At this moment, this link is broken.

To implement the auto login, I need to cross compile the mingetty in the Sourceforge.
http://sourceforge.net/projects/mingetty/
After compilation, the generated file must be copied in to /bin directory.

Add below line in to /etc/inittab for automatic login as a super user(root)

T0:12345:respawn:/bin/mingetty --autologin=root ttySAC2 115200 vt100

To test this root file system, I copied it to the system partition(mmcblk0p2) of Odroid-7.

And I changed bootargs as below.
For ODROID-7 (S5PC110/EXYNOS-3110)

setenv bootargs 'root=/dev/mmcblk0p2 rw rootfstype=ext4  init=/sbin/init console=ttySAC2,115200 rootdelay=1'
setevn bootcmd 'movi read kernel 30008000;bootm 30008000'
savenv

For ODROID-E7 (S5P6450 ARM11)

setenv bootargs 'root=/dev/mmcblk0p2 rw rootfstype=ext4  init=/sbin/init console=ttySAC2,115200 rootdelay=1'
setevn bootcmd 'movi read kernel E0008000;bootm E0008000'
savenv

To make a SDL and application software, I followed below sequence.

Toolchain
Sourcery G++ Lite 2010.09-50  (GNUEABI version)
https://sourcery.mentor.com/sgpp/portal/release1600
* Note: EABI version can’t compile SDL correctly. Must use the GNUEABI version.

SDL source code
http://www.libsdl.org/download-1.2.php
Source code location on host PC
/home/justin/sdl/SDL-1.2.14 (This is my working directory. It is just an example!)

Compile SDL

export CC=arm-none-linux-gnueabi-gcc
./configure --host=arm-none-linux-gnueabi --prefix=/home/justin/sdl/compiled --without-x
make -j 4
make install

* Note: Modify the SDL-1.2.14/src/video/fbcon/SDL_fbvideo.c
Comment out the mouse related code in FB_VideoInit() function.

Compile sdl test (Modify the SDL init function to 800×480 resolution and 32bit color, if the application uses graphic layer.)

./configure --host=arm-none-linux-gnueabi  --with-sdl-prefix=/home/justin/sdl/compiled --disable-sdltest
make -j 4

Compile Freetype
http://download.savannah.gnu.org/releases/freetype/freetype-2.1.10.tar.gz

./configure --host=arm-none-linux-gnueabi --without-zlib --prefix=/home/justin/sdl/compiled
make -j 4
make install

Compile SDL_ttf to display fonts.
http://www.libsdl.org/projects/SDL_ttf/SDL_ttf-2.0.10.tar.gz

./configure --host=arm-none-linux-gnueabi --prefix=/home/justin/sdl/compiled --with-freetype-prefix=/home/justin/sdl/compiled --with-sdl-prefix=/home/justin/sdl/compiled 

#undef HAVE_ICONV ==> showfont.c ( Modify this to avoid annoying error. But, this one should be fixed for proper display of 2-byte languages.)

make -j 4
make install

showfont executable file is generated in .lib directory.

SDL_ShowCursor(SDL_DISABLE);  //To hide the mouse cursor !!!

Download and Install font.
http://ftp.gnu.org/gnu/freefont/freefont-ttf-20100919.tar.gz
Uncompress and copy the fonts in to /usr/fonts/ directory.

Let’s test.

./showfont -i ../fonts/FreeSerif.ttf 30

To execute this application automatically, add below line in /root/.bashrc !!

/usr/bin/showfont -i /usr/fonts/FreeSerif.ttf 30

Finally we made a simple and useful root file system.
This is very light and fast embedded linux root file system.
Size is 35Mbyte approximately.
Get this root file system from
http://dev.odroid.com/projects/odroid-t/download/note/76

Reference.
http://www.crosscompile.org/static/pages/SDL.html

ODROID @ Embedded Technology 2011 in Japan

일본 최대 임베디드 전시회인 Embedded Technology 가 동경에서 전철로 약 1시간 거리의 Yokohama라는 지역에서 열리고 있습니다.


여기서는 줄여서 E.T. 라고 부르며, 공식 홈페이지는 아래 링크에 있습니다.
하드커널은 일본 지역 파트너인 Yokogawa Digital Computer (横河ディジタルコンピュータ株式会社)사와
함께 ODROID를 출품하였습니다. 중간 간판에 ODROID 로고가 보이나요?  ^.^

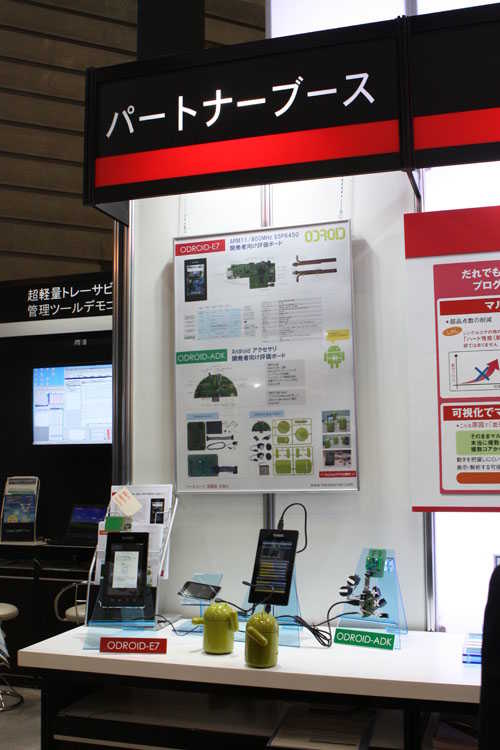
Partner Booth에 마련된 하드커널 코너입니다. 
S5P6450보드와 Android-Accessory 개발용ADK 솔루션을 주로 선보였습니다.

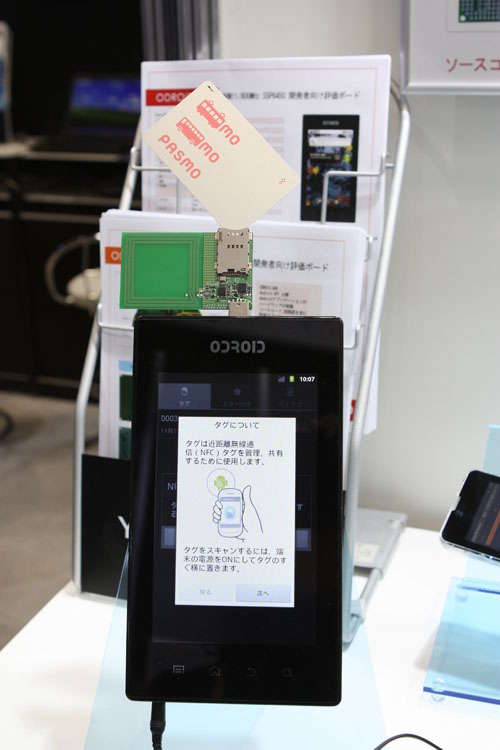
아래 사진은 6450보드(ODROID-E7)에 NFC 확장 보드를 탑재한 데모 입니다.
SENHRN1라는 삼성의 최신 NFC 칩을 장착, 안드로이드 플랫폼에 이식하였습니다.
Android 표준 NFC API를 지원합니다.
저 NFC 보드의 이름은 ODROID-NFC 입니다. ^.^


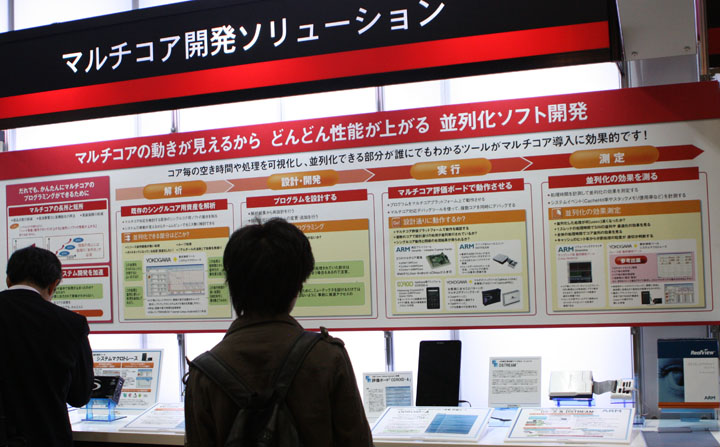
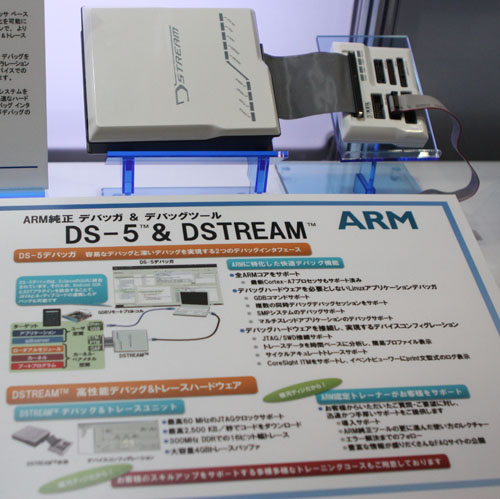
ARM의 공식 Multi-core 개발 솔루션인 DS-5 / DSTREAM의 데모에 ODROID-A가 사용되고 있네요.

좀더 가까이에서 DSTRAM 장비를 찍어보았습니다.

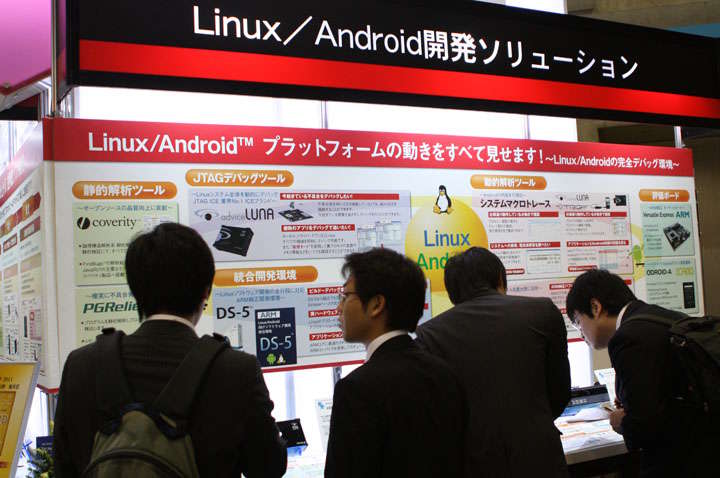
LUNA-advice라는 통합 디버거 장비에도 ODROID-A가 연결되어 있었습니다.
ODROID-A는 여러 곳에 사용되고 있어 뿌듯했습니다. ^.^
아래 사진에서는 사람들에 가려 안보이지만, 오른쪽 맨끝에 ODROID 소개 광고는 보이네요.

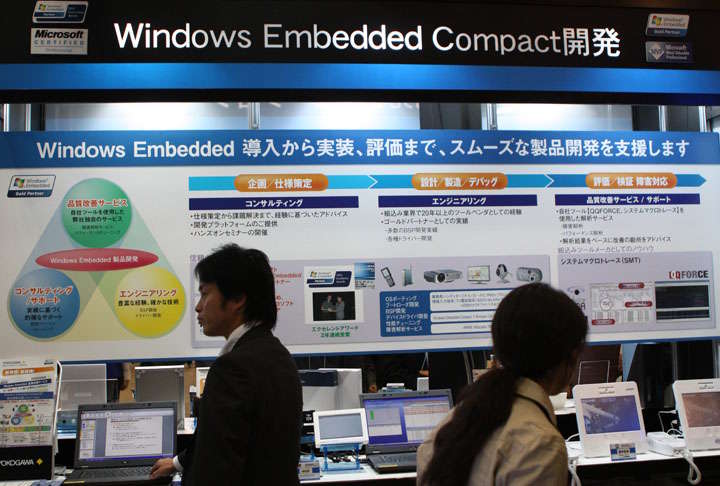
WindowsCE(지금은 Windows Embedded Compact라고 부릅니다) 관련 솔루션을 전시한 곳입니다.
요코가와 디지털사는 임베디드 개발에 관련된 것은 거의 모두 취급하는 백화점 같습니다.

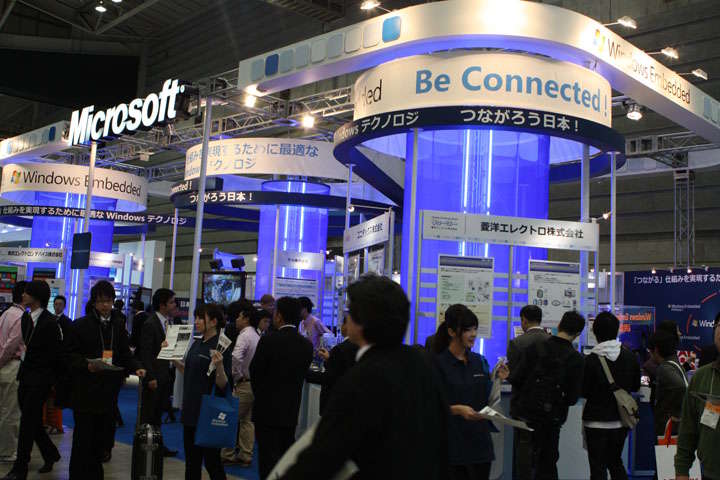
마이크로소프트사의 부스 입니다. 임베디드에 특화된 다양한 플랫폼이 있었습니다.
POS/슬롯머신/관제장치/태블릿/교환기 등등 아직 MS는 건재합니다.
그런데 기대했던 Windows-8 정보는 전혀 없었습니다. ㅠㅠ

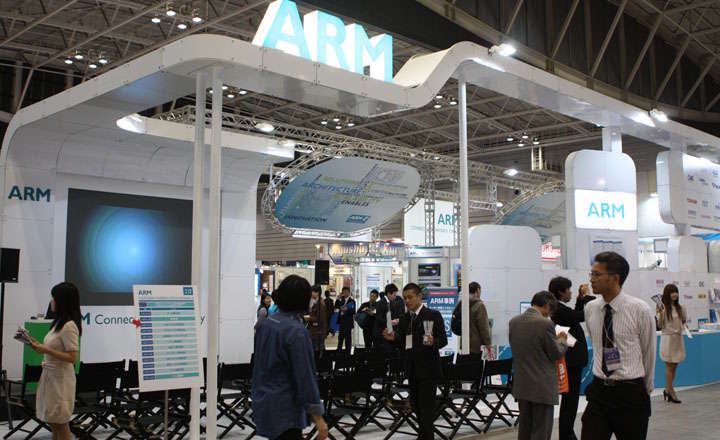
ARM 부스에는 Cortex-A9 Dual/Quad와 A15 Dual 과 각종 개발 장비/툴체인 외에도
Cortex-A5/A7 라는 비교적 저렴하게 만들수 있는 최신 Core들이 소개되었습니다.

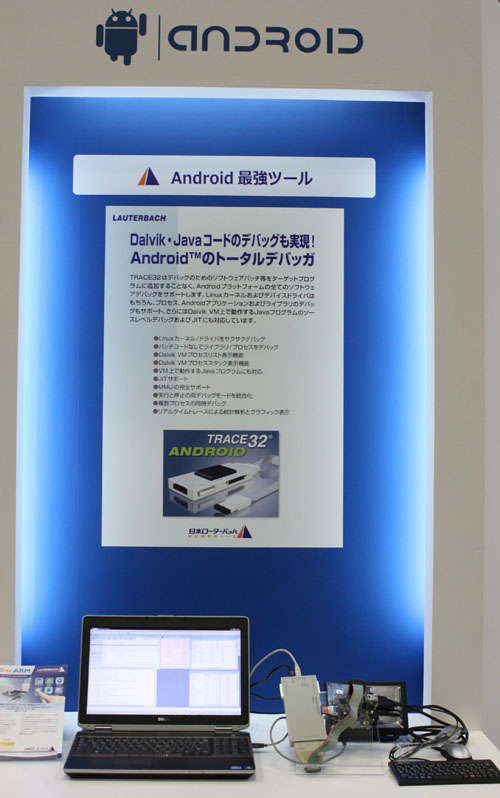
Trace32를 만드는 Lauterbach사의 부스에서 발견한 것으로,
Dalvik / Java와 JNI 및 커널까지 함께 디버깅이 가능하다는 광고입니다.

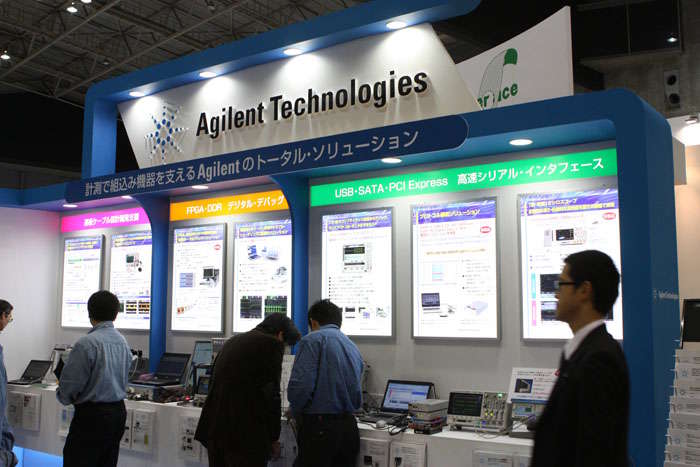
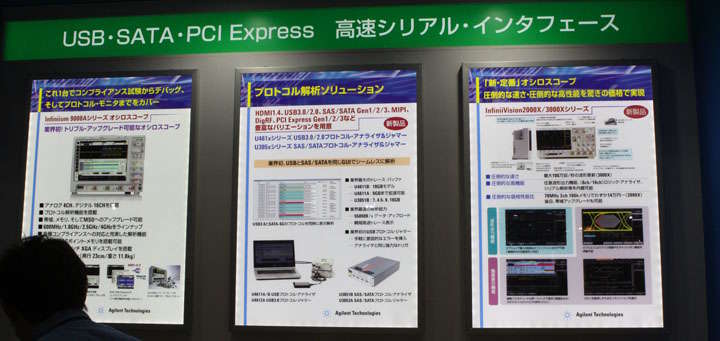
Agilent사의 고속 시리얼 프로토콜 분석 장비로, USB 3.0/SATA/PCI 의 신호 품질을 측정할 수 있습니다.

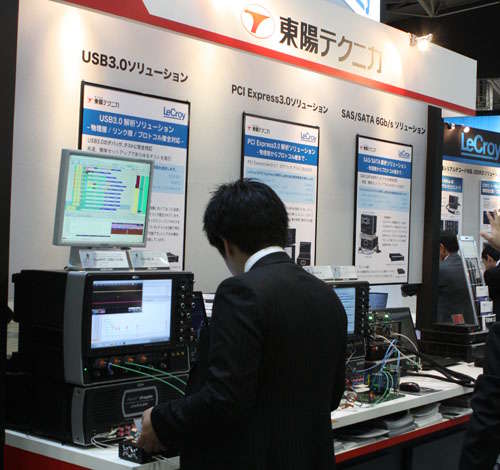
이에 질수 없다고 하는 Lecroy 장비입니다.
제 개인적인 생각으로는 Lecroy의 장비들이 좀 더 편리해 보였습니다.

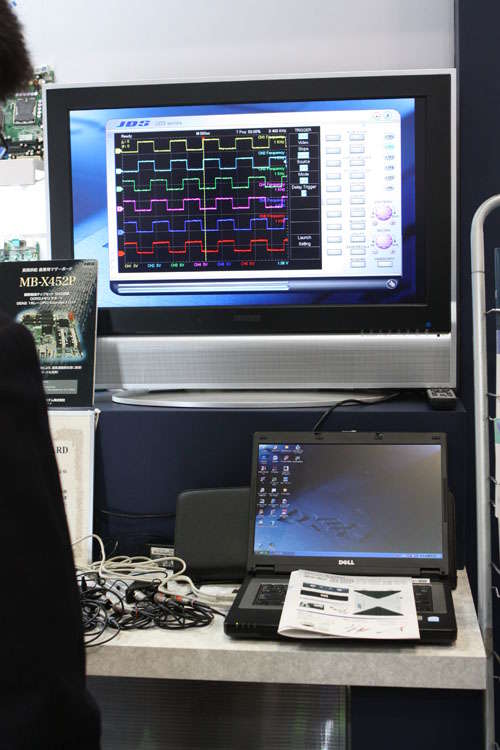
PC의 USB포트에 연결해서 사용하는 오실로스코프로 6채널까지 연동해서 사용할 수 있습니다.
Giga Sample이 가능해서 상당히 쓸모있어 보였습니다.

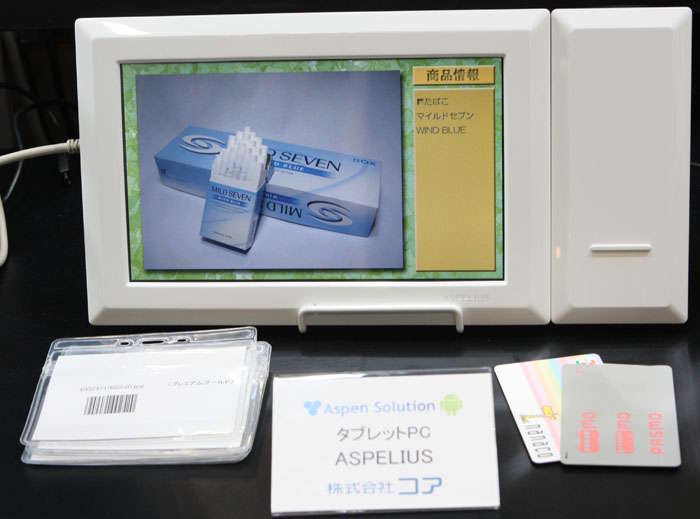
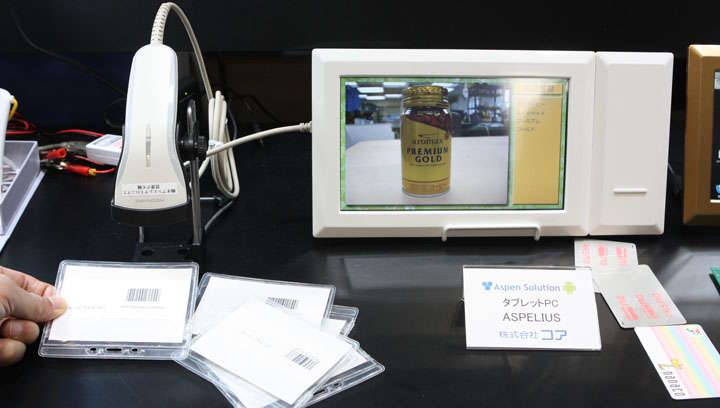
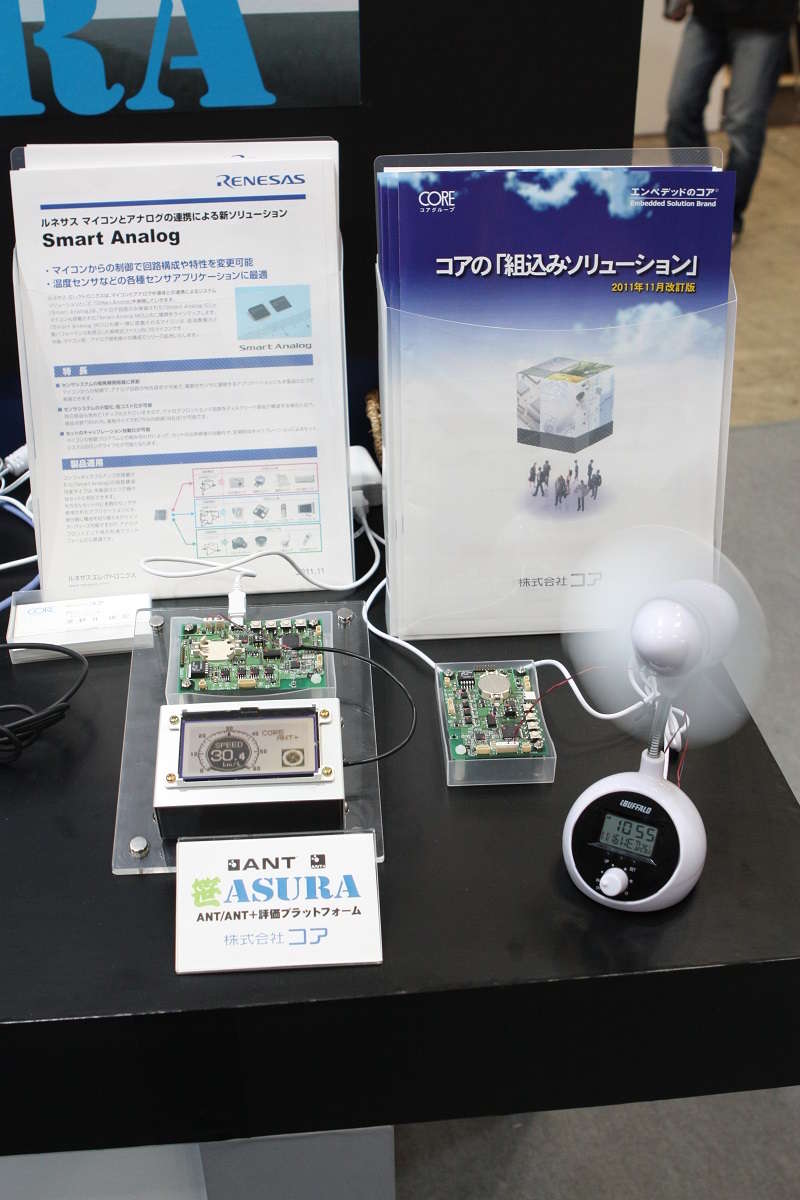
Core라는 회사에서 만든 Android기반의 NFC 솔루션입니다. 
Barcode reader까지 달려있어, POS같은 분야에 바로 적용이 가능해 보입니다.


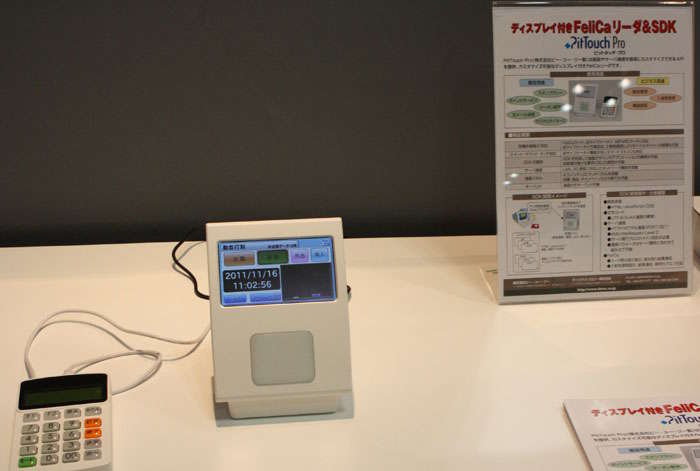
NFC의 일종인 FeliCa 리더기 및 SDK를 소개하는 부스의 사진입니다.

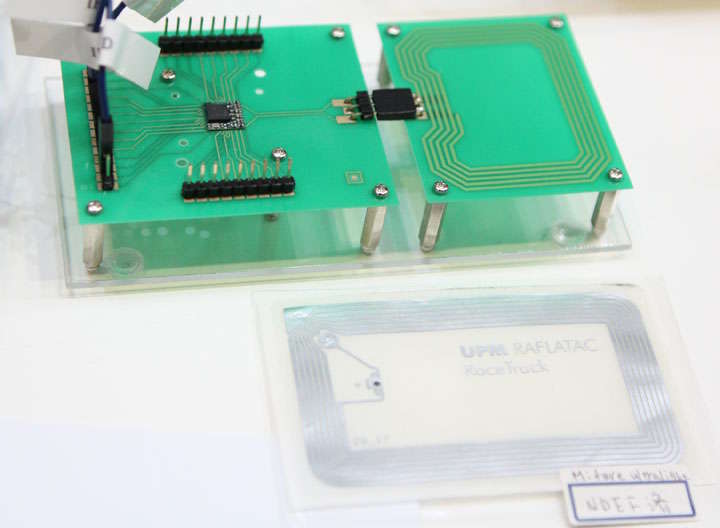
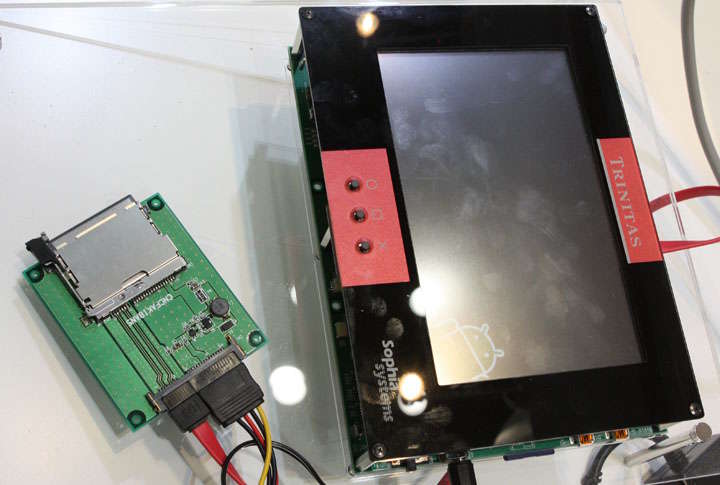
Sophia System사의 NFC 개발 보드입니다. NXP칩 기반입니다.
안테나를 별도로 분리하고, NFC칩은 모듈로 올렸습니다.

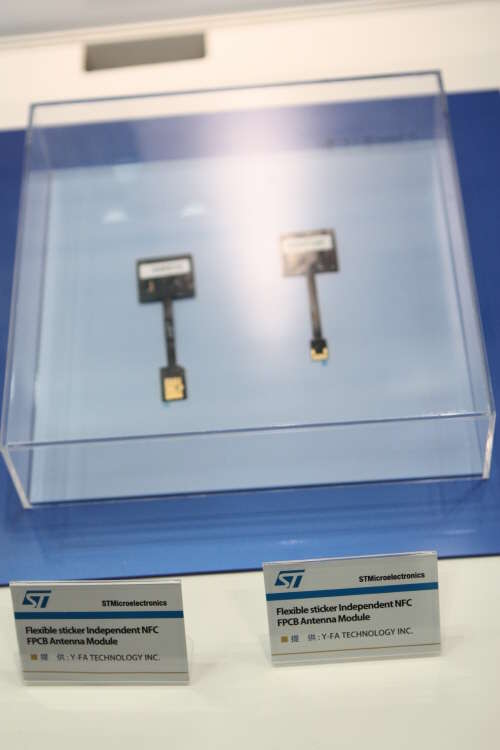
ST Micro사의 MicroSD와 UUIC 인터페이스를 지원하는 특이한 FPCB 형태의 NFC 모듈입니다.

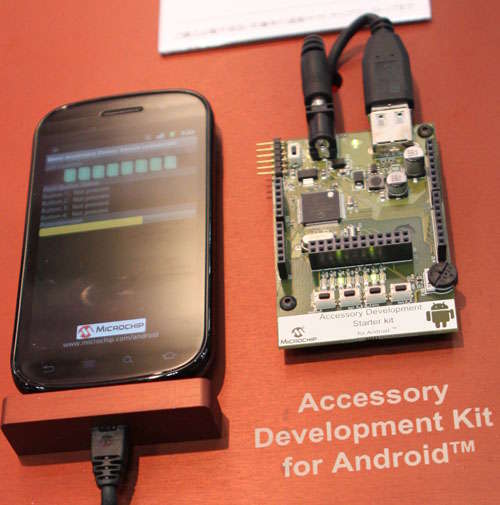
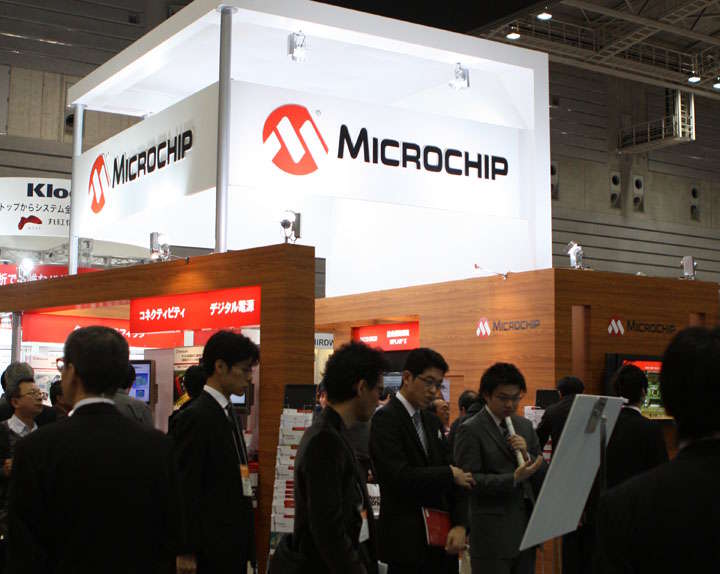
Microchip사의 ADK 개발키트 입니다.


Microchip사의 PIC24와 PIC32 시리즈의 인기도 많이 높았습니다. 여전히 MCU 분야의 강자입니다.

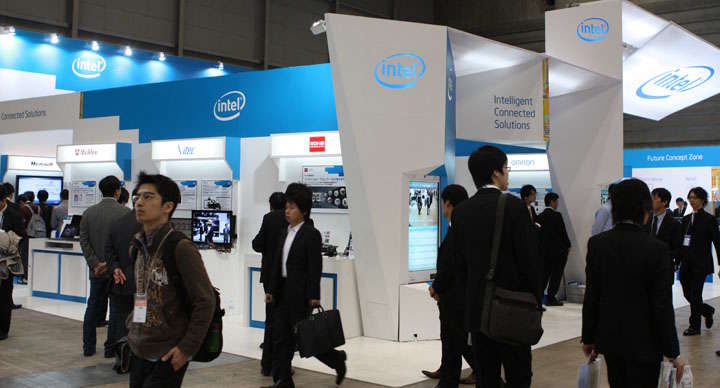
인텔 부스에도 사람들이 아주 많았습니다.
예상밖으로 Atom Dual-core와 i7 Quad-core가 임베디드 제품에 많이 사용되고 있습니다.
x86 기반의 보드들도 실제 산업현장에서 다양하게 적용되는것 같습니다.

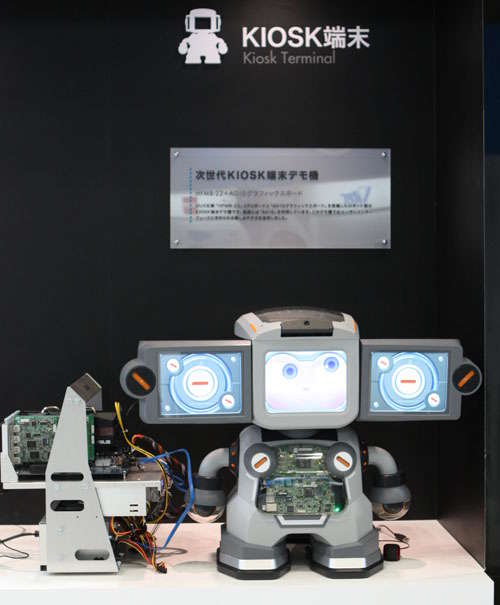
인텔 프로세서가 탑재된 KIOSK 단말 로봇입니다. Triple screen이 인상 깊었습니다.

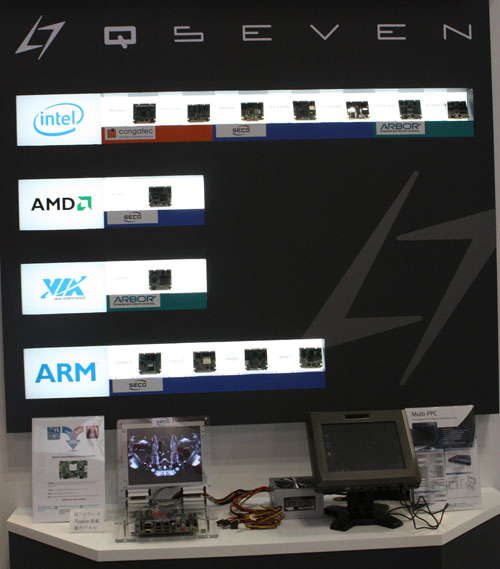
Qseven이라는 업체는 인텔/AMD/VIA/ARM 기반의 모든 임베디드 보드를 취급하는 재미있는 곳이었습니다.
x86뿐 아니라 ARM도 TI/Freescale/Tegra 다양하게 준비되어 있습니다.

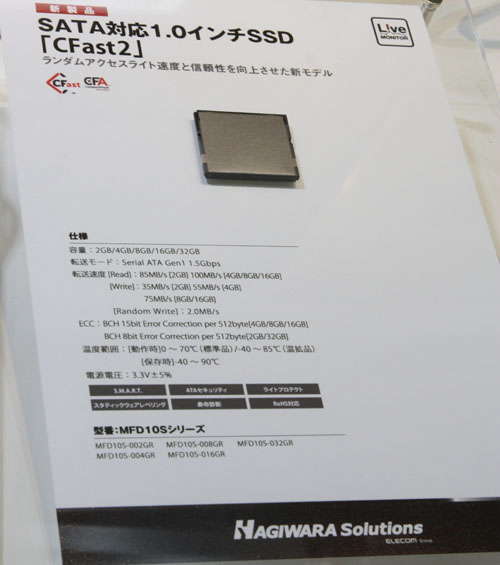
소형 SATA SSD도 임베디드의 여러 분야에(안드로이드 단말기 등등) 적용되고 있습니다.
Compact Flash 카드 사이즈에 SATA 인터페이스는 CFast2라고 부르는것 같습니다.

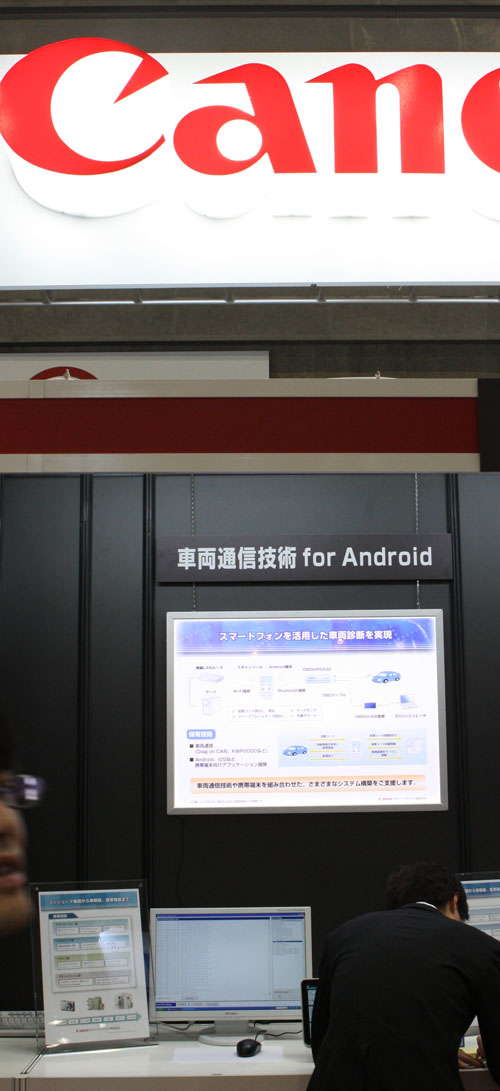
Canon은 안드로이드와 차량 시스템 통신 솔루션을 구축해서 전시하고 있습니다.
LIN/CAN 인터페이스를 안드로이드에서 이용하더군요.

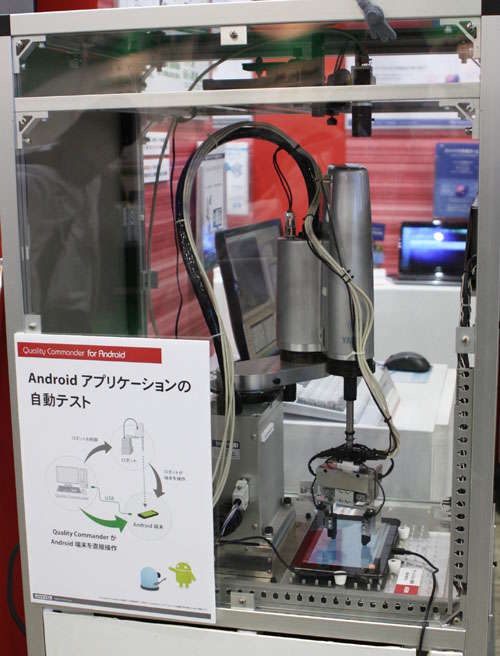
안드로이드 기기 양산이나 앱의 품질 관리에 사용할 수 있는 장비입니다.
Vision인식과 멀티터치용 로봇 손가락으로 기기를 테스트할 수 있습니다.

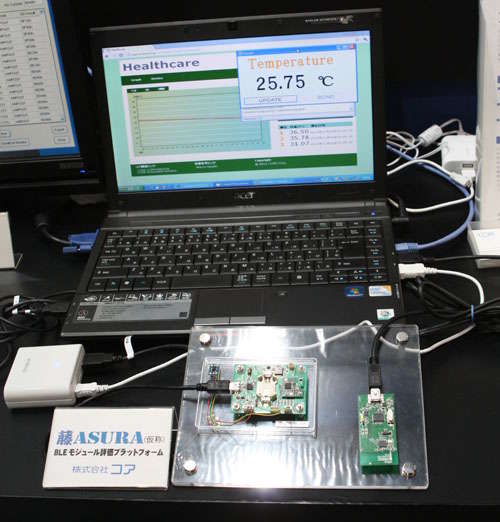
저전력 스마트 주변기기의 무선 통신은 ANT+와 블루투스 4.0 BLE가 주로 적용되고 있습니다.
아래는 ANT solution이며, 그 아래는 BLE 솔루션 데모 보드입니다.

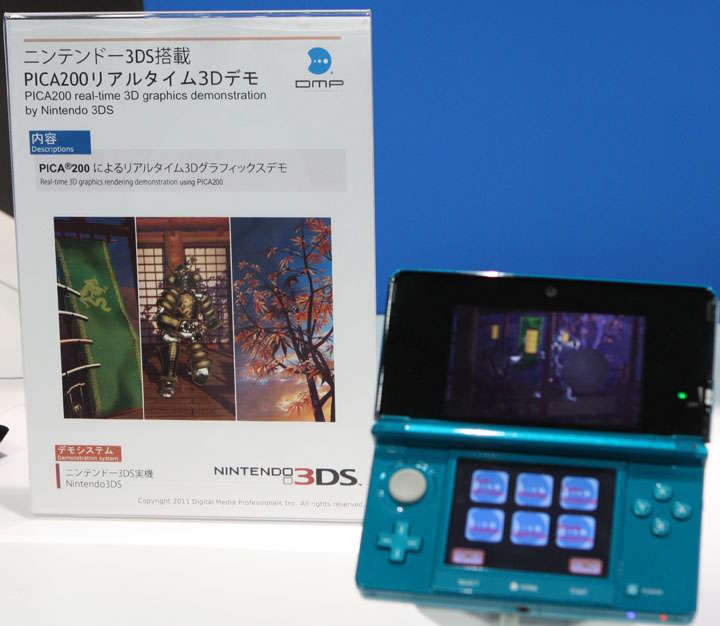
DMP사의 3D 가속기 IP 데모이며, 실제 닌텐도 3DS에 탑재되었습니다.
Samurai OpenGL ES 데모를 돌리는데, FPS는 높게 나오는 편이었습니다.

PowerVR의 Imagination사도 다양한 3D 엔진의 로드맵을 선보였습니다.
삼성이 Mali를 당분간 사용하겠지만, 추후에는 PowerVR을 다시 기용한다는 기사가 나왔습니다. ^.^

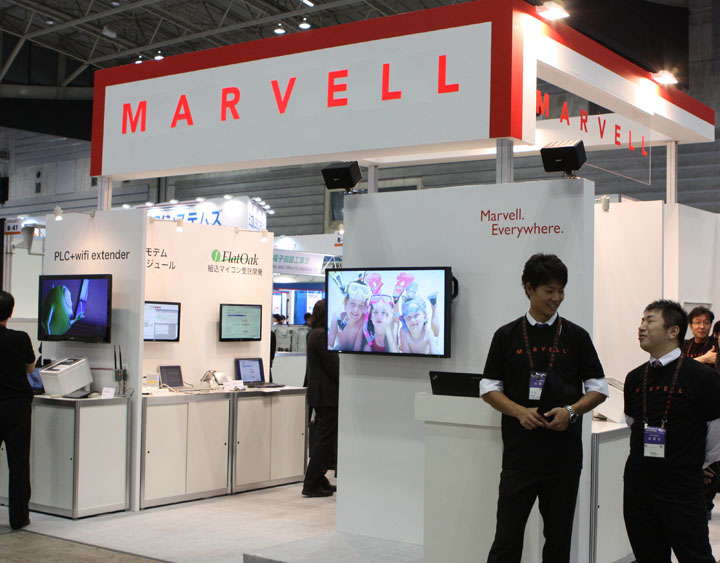
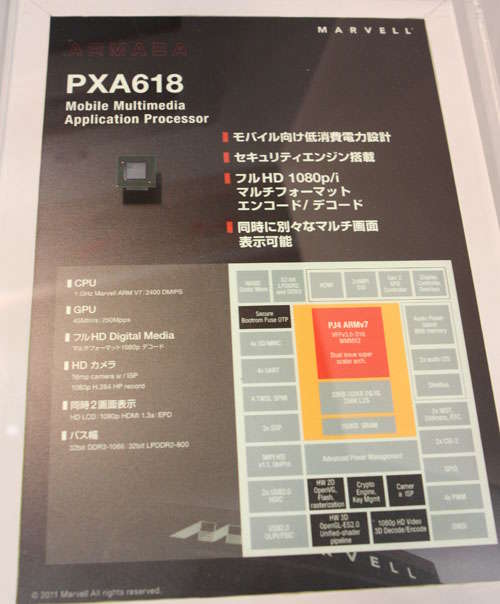
Marvell은 PXA618이라는 ARMv7기반의 AP를 소개하고 있습니다. Full-HD 재생/녹화가 가능하다고 광고하네요.


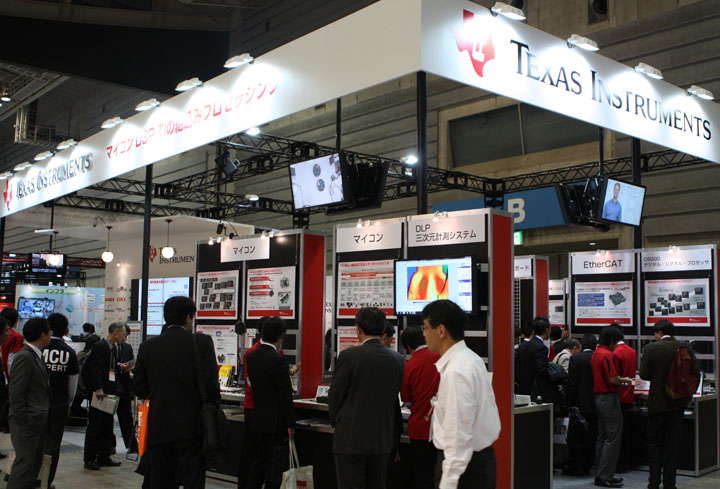
TI 부스에도 재미있는것들이 많이 있습니다.

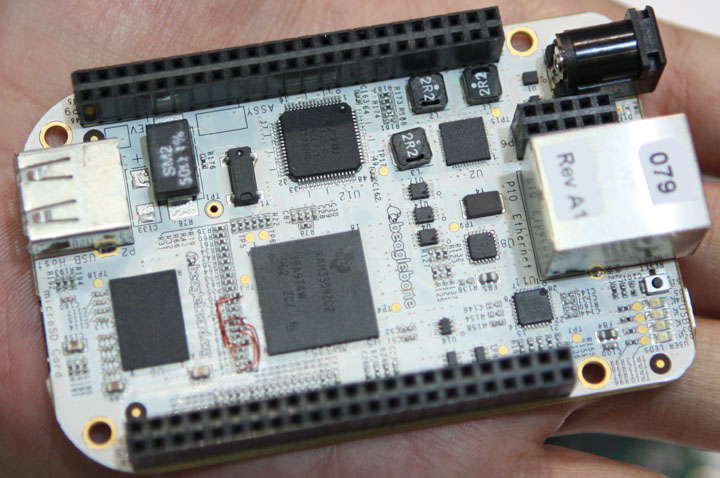
TI의 유명한 신상품 개뼈다귀(BeagleBone) 보드입니다. 아두이노랑 비슷한 크기이며, Cortex-A8 기반입니다.

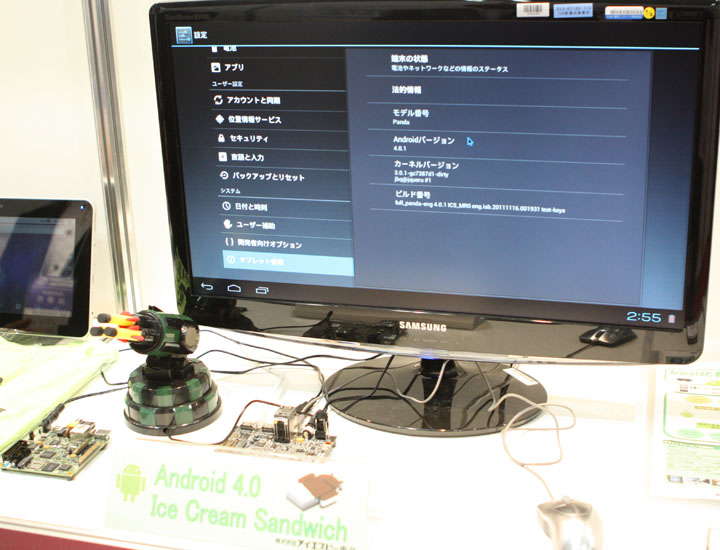
PandaBoard 에 Android 4.0 ICS를 올려서 시연하고 있네요.

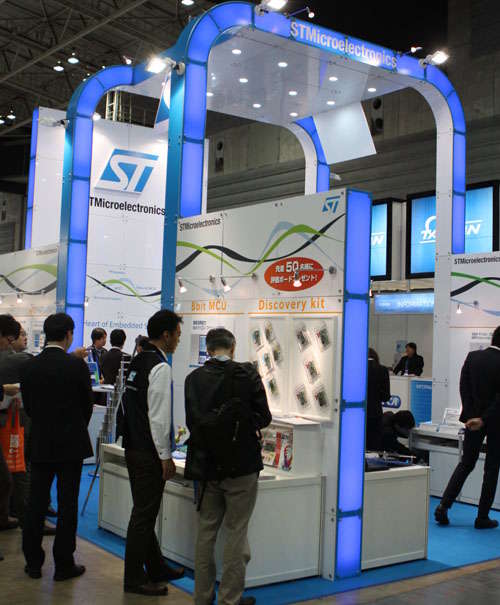
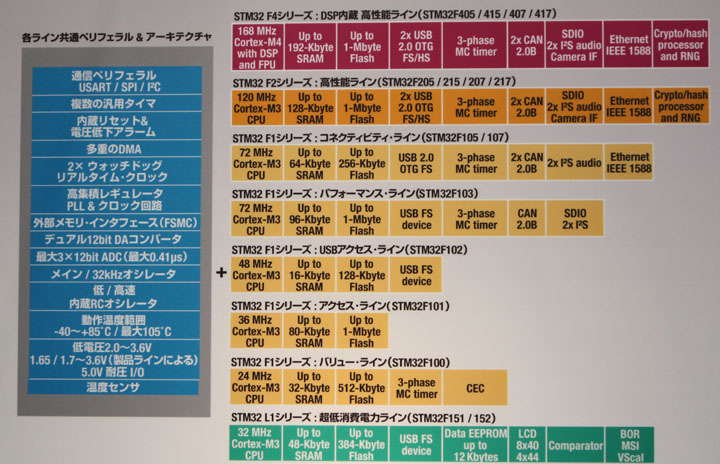
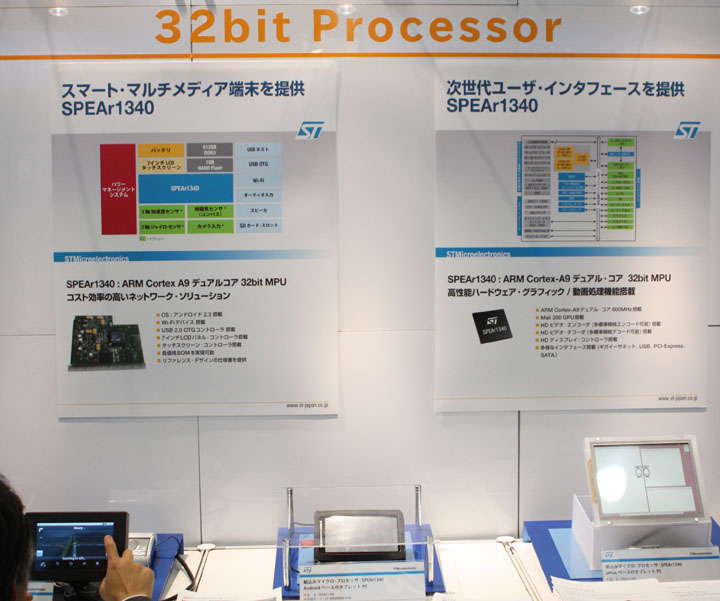
ST 사는 Cortex M4기반의 MCU와 Cortex-A9 Dual-core 기반의 SPEAr 시리즈를 선보였습니다.

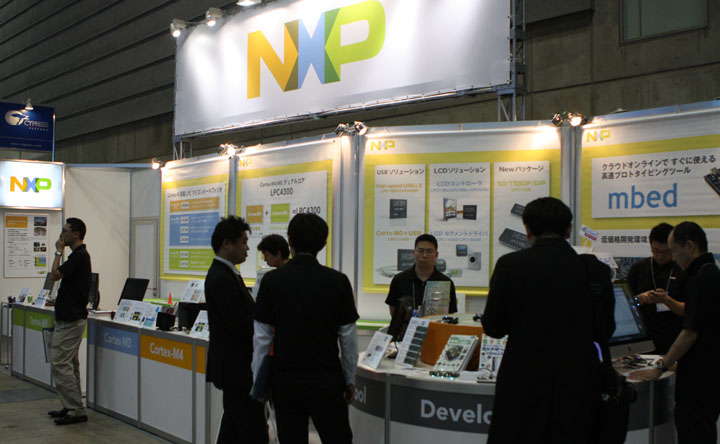
NXT는 Cortex-M3/M4 기반의 MCU를 소개하고 있으며, mbed라는 재미있는 보드가 있었습니다.
Cloud기반의 개발 환경으로 펌웨어 소스부터 컴파일까지 모두 Cloud server에서 작업을 합니다.
따라서 100% Open source이더군요. Local에서는 작업할 수가 없습니다. ^.^
기회가 생기면 mbed를 한번 만져보고 싶더군요.


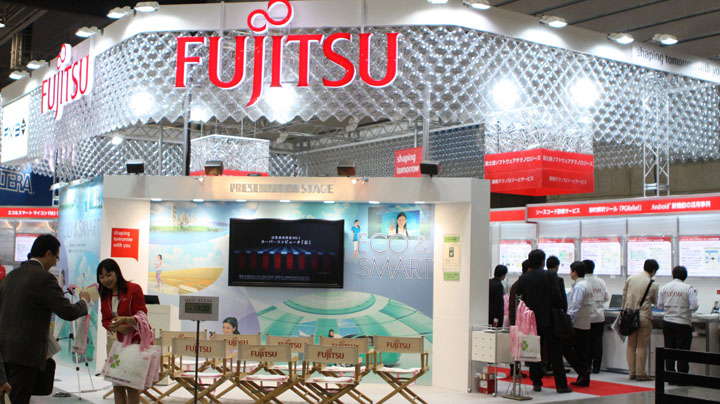
Fujitsu 부스에도 다양한 MCU를 소개하고 있으며, 자체 코어와 Cortex-M이 서로 경쟁하는 모습입니다.


하나 재미있는것은 Fujitsu MCU기반의 ADK가 있었는데, 가격이 ODROID-ADK에 비해 15배가 넘었습니다.

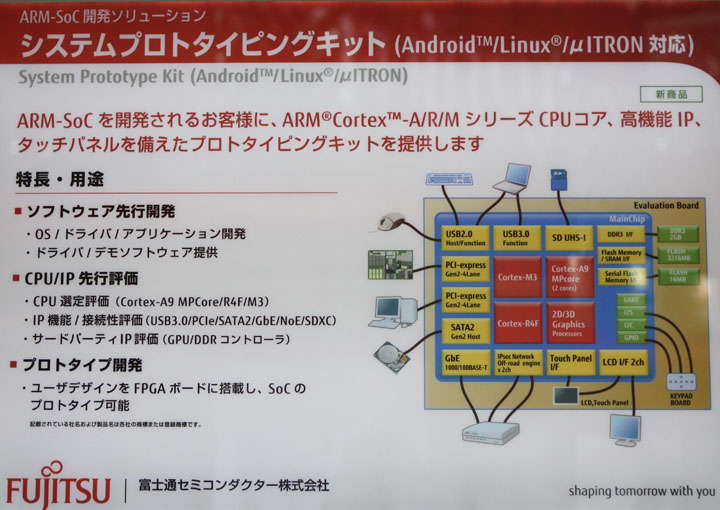
Fujitsu도 Fab을 제공하는데, Cortex-A9 Dual + Cortex-M3 + Cortex-R4F 등등 완전 짬뽕 솔루션이 있었습니다.

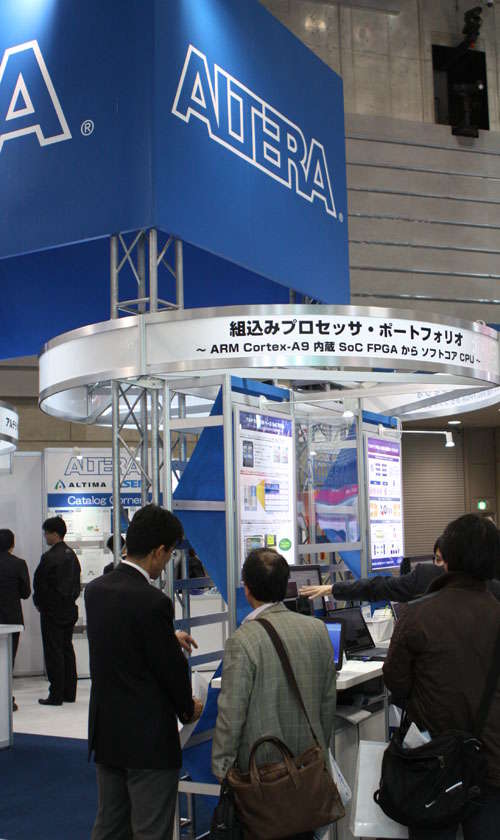
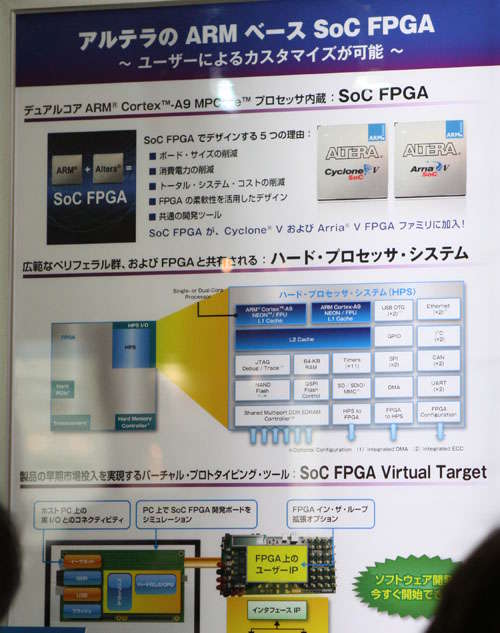
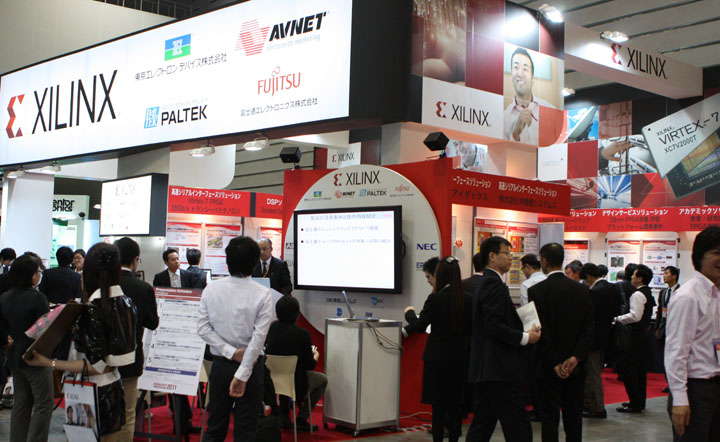
FPGA의 양대 산맥인 ALTERA와 XILIX스 부스는 Cortex-A9 processor가 내장된 FPGA 솔루션을 함께 선보였습니다.

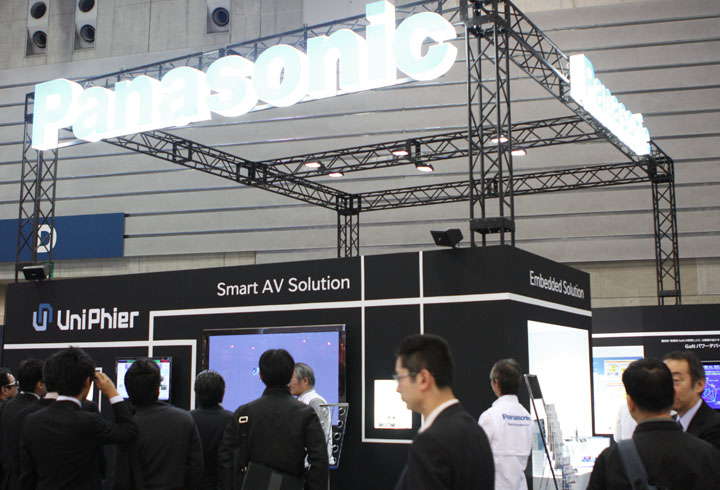
Panasonic은 Embedded S/W solution을 전시하고 있습니다.
특히 3D Smart-TV 및 Multimedia 부분이 눈에 들어오더군요.

Toshiba는 산업 현장에서 선호하는 5Volt용 Cortex-M3 MCU가 많았습니다.
공조장치나 냉장고 등에는 아직도 5Volt 사용 MCU가 사용된다고 합니다.

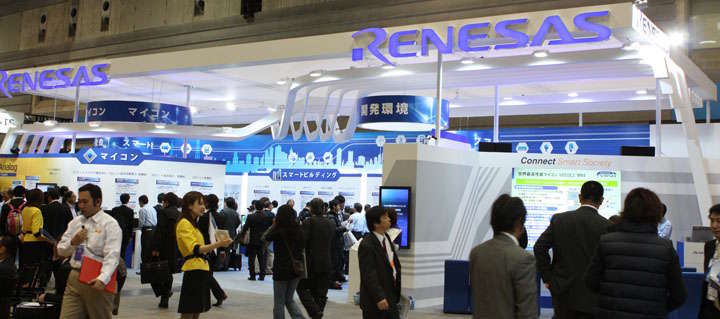
마지막으로 Renesas 부스입니다. NEC와 Hitachi가 합쳐진 거대 반도체 회사입니다.

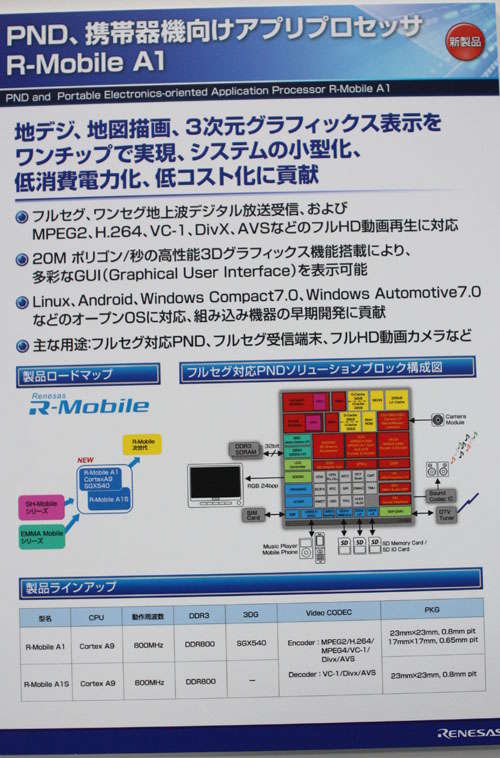
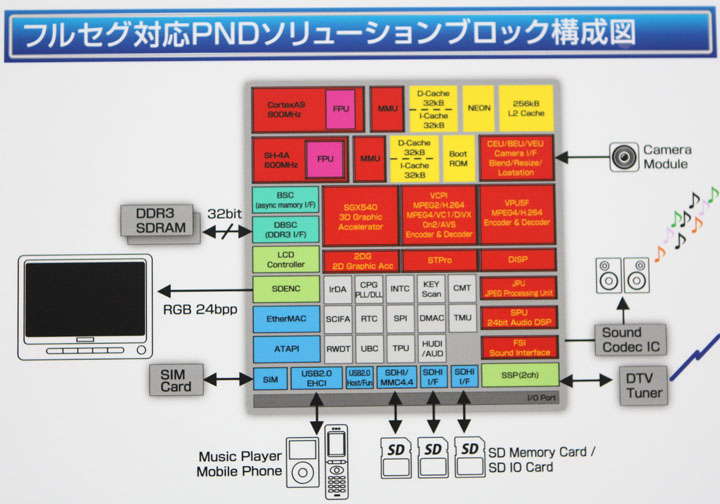
R-Mobile A1이라는 AP는 Cortex-A9 싱글 코어지만, SH4라는 강력한 프로세서가 하나 더 들어있습니다.

내부 블럭도를 자세히 한번 보세요.

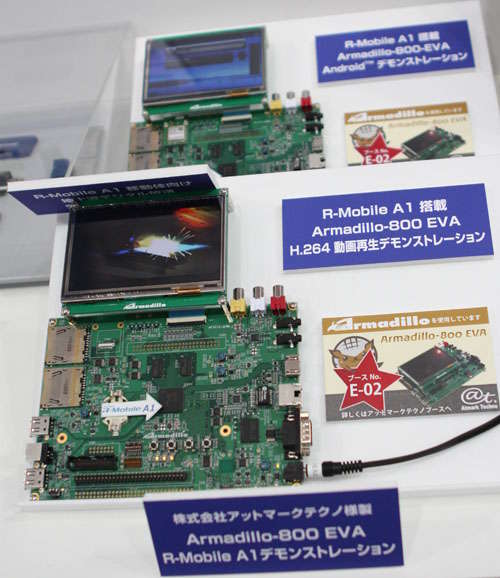
개발 플랫폼 보드이며, 일본의 유명한 At-Mark사 제품으로 가격은 약 150만원 정도 합니다.

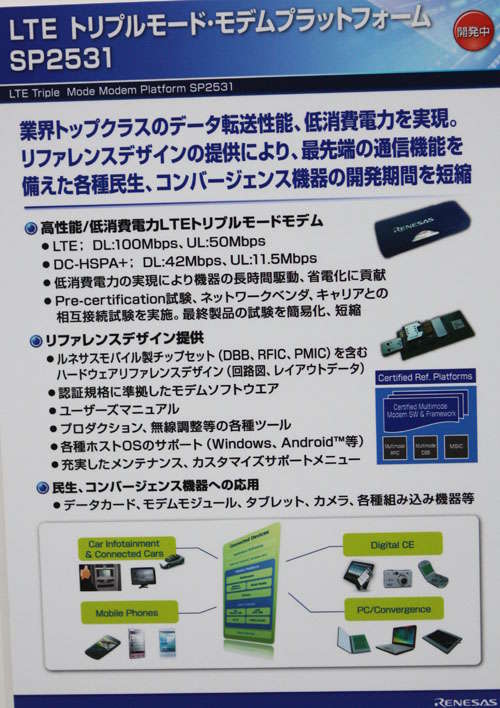
LTE 모뎀 솔루션으로 Triple mode를 지원합니다. 가장 군침나는 제품이었습니다.

이상으로 일본 임베디드 전시회 참관/참여기를 마무리 합니다.
긴 글 읽어주셔서 감사합니다.

Bluetooth 4.0

Bluetooth 4.0은 최신 iPhone 4S에 탑재되었으며, 이를 기폭제로 내년에는 좀 더 많은 기기에 적용될것 같습니다.

우선 블루투스 버전별 특징을 알아보고, 미래를 준비해 보죠.

Bluetooth v2.0 + EDR

기존의 최고 전송 속도였던 721kbit/s를  3Mbit/s로 끌어 올렸습니다.

실제 전송 가능한 속도는 2.1 Mbit/s입니다.

Bluetooth v2.1 + EDR

v2.0과의 가장 눈에띄는 차이는 손쉬운 Paring이 가능하도록 SSP(secure simple pairing) 기능이 추가되었는 것입니다. 

그 외에 커넥션시 필터링이 쉽도록 EIR(Extended inquiry response)이 강화되고, low power 모드에서 소비전류를 줄이는 기능이 추가되었습니다.

현재까지 출시된 모든 오드로이드는 이 버전입니다.

Bluetooth v3.0 + HS

여기서 부터는 비교적 최근에 나온 갤럭시 S2나 동급 폰에서 제대로 지원하기 시작하였습니다.

Bluetooth 3.0+HS는 이론적으로 24 Mbit/s 이라는 엄청난 속도를 제공합니다.

그런데 Bluetooth link는 접속에만 관여하고, 실제 고속 데이터 통신은 802.11 WiFi쪽에 추가된 AMP(Alternate MAC/PHY)를 이용합니다.

+HS는 3.0의 필수 스펙은 아닙니다만, 요즘 나오는 기기들은 대부분 +HS가 붙어 있는것으로 보아 AMP를 이용한 고속 전송이 가능한것 같습니다.

Unicast connectionless data
L2CAP 채널대신에 소량의 데이터 전송 가능케하여 사용자의 동작과 재접속/데이터 전송 사이 틈틈이 보낼수 있습니다.

Enhanced Power Control
Open loop 전력 제어를 없애고, RSSI filter를 이용한 Close loop 전력 제어를 추가하며, 새로운 변조(Modulation)을 EDR에 추가하여 합리적인 전력 관리가 가능합니다.


Bluetooth v4.0

Bluetooth low energy(BLE)라는 새로운 프로토콜이 추가되었습니다.

ZigBee나 ANT+같은 저전력 RF 솔루션과 경쟁하기 위한것입니다.

동전형 전지로 몇년을 지속할 수 있는 주변기기가 주요 타겟입니다. 따라서 속도는 상대적으로 많이 느립니다.

기존 프로토콜과는 전혀 호환이 안되면, 아주 단순한 연결 구조로 완전히 새로운 프로토콜 스택입니다.

BLE만 지원되는 칩은 Single mode라고 부르며, 기존(Classic) 블루투스와 함께 들어있는 칩은 Dual-mode라 부릅니다.

스마트 단말기는 Dual-mode 솔루션이 탑재되고, 심장 박동 검사기 같은 주변 기기는 Single mode 솔루션이 탑재됩니다.

최신 상용 단말기에 탑재되는 Broadcom사의 BCM4330칩은 Dual-mode 솔루션 입니다.
따라서 내년에 나올 Android (Jelly Bean)에는 Bluetooth 4.0 Bluetooth Low energy 관련 프레임웍이 추가될 가능성이 높아 보입니다.
이에 대한 몇몇 근거를 나열해 보겠습니다.

어떤 형태가 될지는 iOS5의 BLE관련 API를 보시면 예상되는 그림이 있을것 같습니다.
현재 안드로이드는 RFCOMM기반의 단순하면서도 확장 가능한 구조인데, 애플도 비슷하게 최소한의 Profile인 ATT(Attribute)만 지원하고 있습니다.
https://developer.apple.com/library/ios/#documentation/CoreBluetooth/Reference/CoreBluetooth_Framework/_index.html

좀 더 흥미로운것은 Linux Kernel 3.1에 들아가는 최신 BlueZ에 BLE protocol이 추가되었다는 것입니다.
http://www.bluez.org/
따라서 다음 버전의 안드로이드(Jelly Bean)에서 BLE를 지원할 확률이 높아보입니다.
이는 결국 새로운 개념의 ADK와 Open Accessory를 내년 Google I/O에 발표할 가능성을 점치게 하네요.

몇일 동안 틈틈이 알아본 BLE 정보를 공유합니다만, 후반부의 예측은 억측이 될수도 있겠습니다. ㅎㅎㅎ
그래도 하드커널은 BLE 솔루션을 준비해야 겠죠?

Hardkernel Workshop

We have workshop on Thursday(20th) and Friday(21st). Please understand whether we do not answer the phone and not reply the mail.

[Korean] 저희가 목요일과 금요일 워크샵을 갑니다. 전화를 받지 않고 메일에 회신을 못해 드리더라도 이해해 주십시오.  

ODROID @ KES

KES (Korea Electronic Show) has started yesterday. We have revealed our new products.

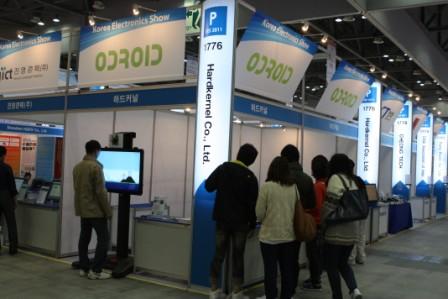
Our booth #1776


ODROID-E4
– ARM11 800MHz S5P6450
– 4inch multi touch Display
– Android / WinCE
– Available in November 


ODROID-PC
– ARM Cortex-A9 Dual Core Exynos4210
– 10/100 Mbps Ethernet
– 4Port USB Host
– Available in November 


AD Pannel using ODROID-PC
42inch IR type Multi Touch


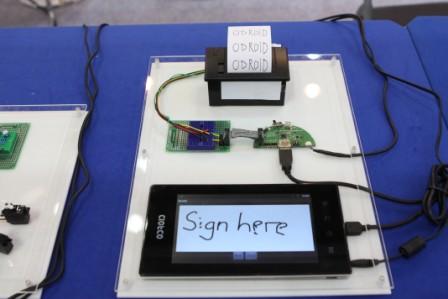
ODROID-ADK
Added a Printer


There will be official update of our new products soon~~~

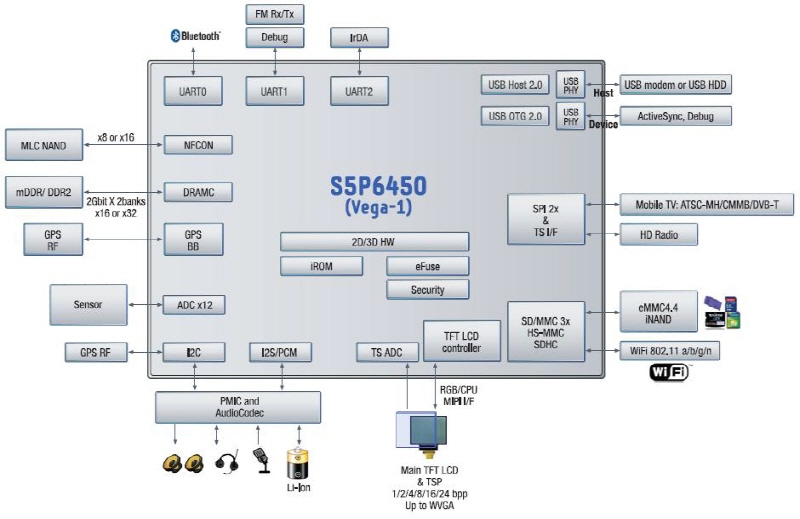
800Mhz ARM11 with Mali-400 GPU ===> S5P6450

Samsung’s latest application processor S5P6450(VEGA) for mid-range embedded market is based on 800Mhz ARM11 with Mali-400 3D GPU.

The key features of S5P6450 include:
– ARM1176JZF-S based CPU system with Java acceleration and Memory Mapping Unit (MMU) capability.
– 16KB I-cache and16KB D-cache CPU memories.
– 64-/32-bit 166MHz AMBA 3.0 AXI bus structure.
– Supports 32-bit Mobile DDR Interface Mobile DDR and DDR2.
– Embedded 64kByte SRAM and 64kByte ROM on AXI.
– Supports 8-bit 5 Megapixel (MP) capable Camera Interface
– Supports 24-bit 3x I2S and 16-bit 3x Pulse Code Modulation (PCM) Interface
– Supports 6x UART/2x SPI/2x I2C interface
– On-chip USB 2.0 OTG controller and PHY transceiver supporting high speed
– Supports USB HOST 2.0
– Supports Hardware Rotator
– Supports Transport Stream Interface
– Supports GPS baseband
– Supports Security SubSystem (SSS)
– Supports Mali400 3D engine
– Supports 13-ch. Touch screen Analog-Digital converter (TSADC)
– Supports MPEG2/4 decoder
– Supports eMMC 4.4
– Manufactured with the 45nm process for low power and low cost.
– Package is 409 pin FBGA type and dimension is 14.0 x 14.0 mm with 0.65mm pitch.

Many S3C2440 based application will meet a problem due to EOL(end of life) of SDRAM.
Samsung will not produce any SDRAM from middle of 2012.
So, you would better prepare your product with S5P6450/DDR solution for your future.
Please note the over all system cost will be very similar to S3C2440.
I’ll post this issue in detail within couple of weeks.

Thanks,
-Justin-

BaB Board @半脊雪山 in China

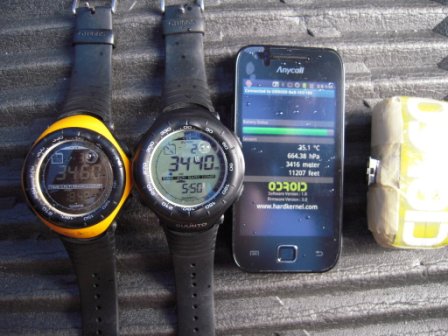
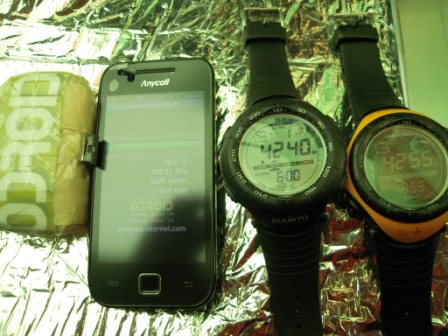
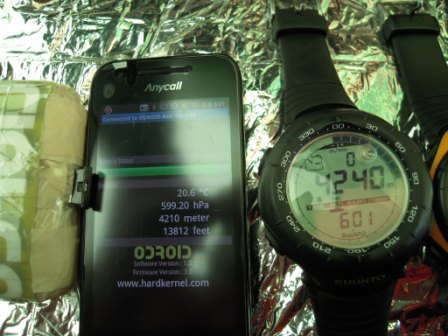
Thanks to University of Incheon Alpine Club for the evidence shot. The picture was taken at the mountain 半脊雪山 in China.

@ Base Camp : around 3400m height, 25.1 degree

@2nd Camp : around 4240 height, 20.6 degree


ODROID BaB Board has digital pressure and temperature sensor and it is connected to Gallexy S through bluetooth connectivity. The temperature is 25 degree at the height of 3400meter.