How to install update image for Android Beta 1.7 or higher.

We released Android Beta 1.6 (Jelly Bean) for ODROID-X/X2/U/Q/Q2 24-April-2013.
This version includes the UPDATER feature which support the OTA like system software installaion/upgrade.
It will reduce the pain of flashing or anoying ADB method.

Here is a brief instruction to install the latest OS image.
Click the image to enlarge it.

1. Check your OS version is higher than Beta 1.6
Settings --> System --> About Tablet
The Build Number has a date code. It must be something of April-2013 or later. This ODROID-X2 image is 24-April-2013.

2. Run Web browser in ODROID and visit “http://dn.odroid.com/Android_Beta_1.7/” home page.
If you are using X2 with eMMC, click X2 and eMMC directory. Click “odroidx2-ota-eng.codewalker.zip” to download it.

3. Download a file manager from this link and install it.
If you already installed, you can skip this process.
https://dl.dropboxusercontent.com/u/4485660/Astro%20File%20Manager.apk


4. Creat “updater” directory in sdcard and copy the “odroidx2-ota-eng.codewalker.zip” from “Download” directory to “updater” directory.

If you already have the “updater” directory, you don’t need to make it.

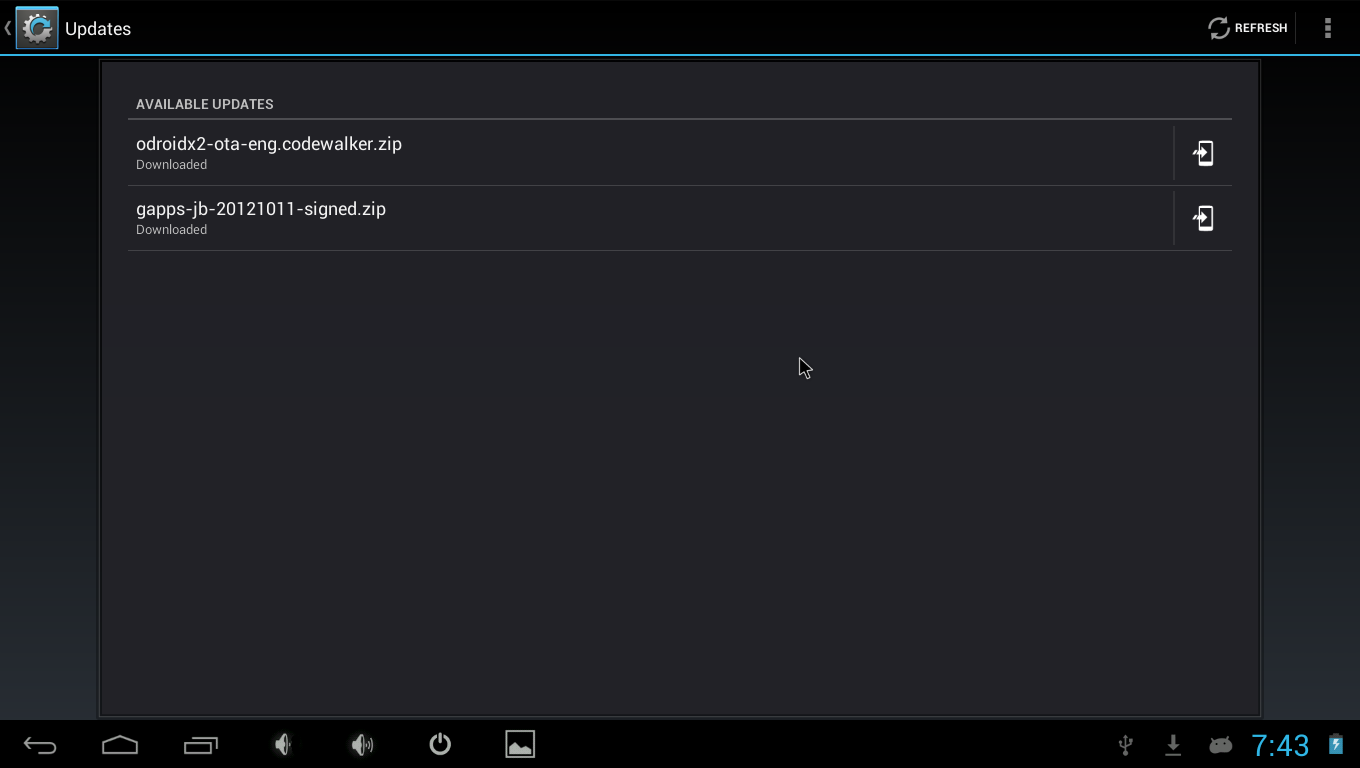
5. Select Settings -> About tablet -> ODROID Update. Choose the “odroidx2-ota-eng.codewalker.zip”
And it will reboot and start installation of the OS image.


6. If you select “Update”, it starts the OS update.

7. You need to reinstall the GMS again due to system partition has been changed.
Here is the instruction of GMS installation.
https://www.hardkernel.com/ko/blog/how-to-install-t…ta-1-6-or-higher/

How to install the GMS apps for Android Beta 1.6 or higher.

We released Android Beta 1.6 (Jelly Bean) for ODROID-X/X2/U/Q/Q2 24-April-2013.
This version includes the UPDATER feature which support the OTA like system software installaion/upgrade.
It will reduce the pain of flashing or anoying ADB method.

Here is a brief instruction to install the GMS(Google Play, Gmail and other Google Mobile Service applications).
Click the image to enlarge it.

1. Check your OS version is higher than Beta 1.6
Settings --> System --> About Tablet
The Build Number has a date code. It must be something of April-2013. This ODROID-X2 image is 24-April-2013.

2. Run Web browser in ODROID and visit “http://goo.im/gapps/” home page.
Click “gapps-jb-20121011-signed.zip” to download it.

3. Download a file manager from this link and install it.
https://dl.dropboxusercontent.com/u/4485660/Astro%20File%20Manager.apk


4. Creat “updater” directory in sdcard and copy the “gapps-jb-20121011-signed.zip” from “Download” directory to “updater” directory.

5. Select Settings -> About tablet -> ODROID Update. Choose the “gapps-jb-20121011-signed.zip”
And it will reboot and start installation of GMS apps.


6. If you select “Update”, it starts the GMS installation.

7. Run Play Store and Sign in Google Account. That’s it. Time to enjoy~

SCaLE X11 : Thank you very much for visiting our booth

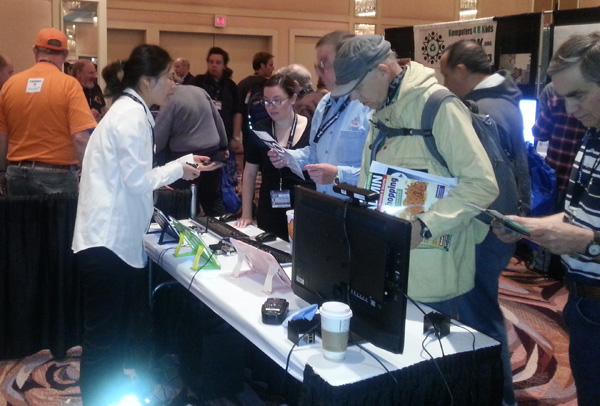
We thank you for visiting ODROID booth at SCaLE this year, especially thank to the people driving and flying there only to see the ODROID.

Lots of ODROID developers visited our booth to talk face to face. We appreciate all your comments.

There was one old man who came with his wife to show her ODROID-U2. He wanted to change her PC to ODROID-U2. She was very happy to use ODROID-U2 for her next PC.
There was also lots of men who came with their kids. There was one kid who knew about RPI. The kid wanted to know the difference between ODROID-U2 and RPI. What one guy said was “RPI is the raspberry pie, and ODROID-U2 is the wedding cake” We all laughed a lot.


ODROID at SCaLE : Southern California Linux Expo

We are going to show our ODROID development platform in the SCaLE Exhibition.

The Eleventh Annual Southern California Linux Expo
February 22-24, 2013  (Exhibition date : 23~24)
@ Hilton Los Angeles International Airport

You can find the ODROID in 5th page on this link.
https://www.socallinuxexpo.org/scale11x/exhibitors

If you want to see the ODROID in the wild, please visit us at booth #67.
Use this 4-digit promo code for your registration.
Promotion code : HARD ( For 40% discounts )

We are going to display various Linux distros and Android.

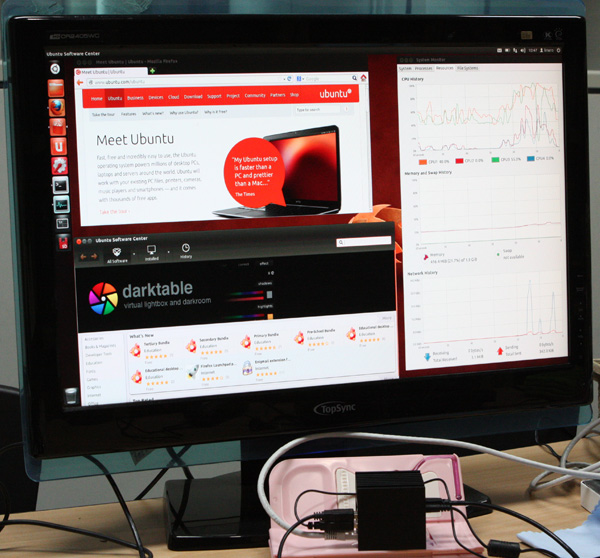
ODROID-U2 : ARM Ubuntu runs on 1080p Full-HD HDMI screen.


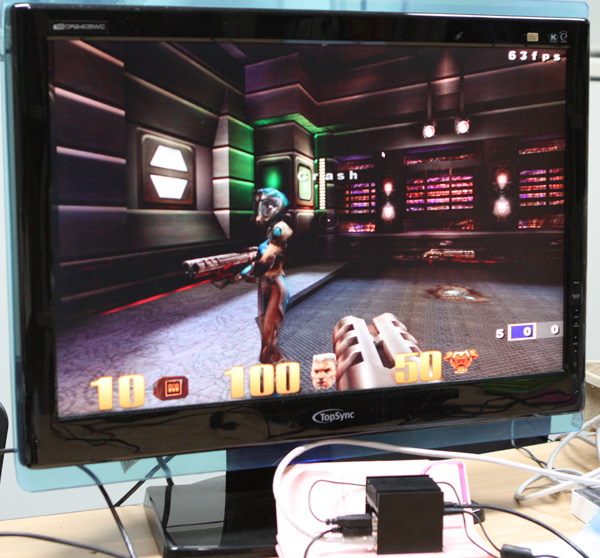
ODROID-U2 : Mali400 OpenGL-ES accelerated Quake3 3D Game on Ubuntu


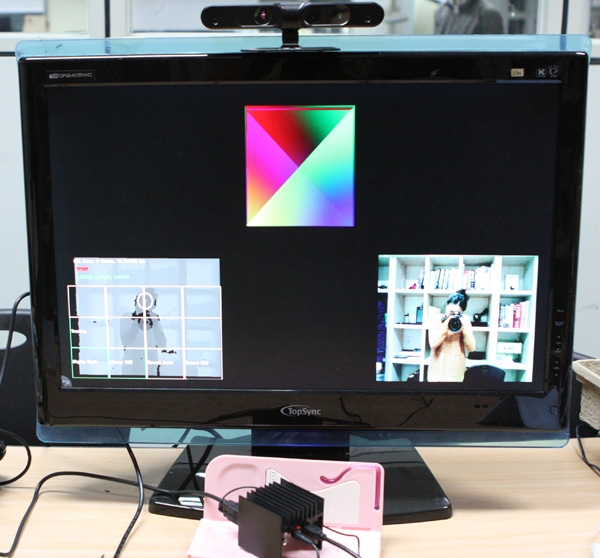
ODROID-U2 :  OpenNI + OpenCV + OpenGL + PCL with Xtion/Kinect Sensor   (Android)


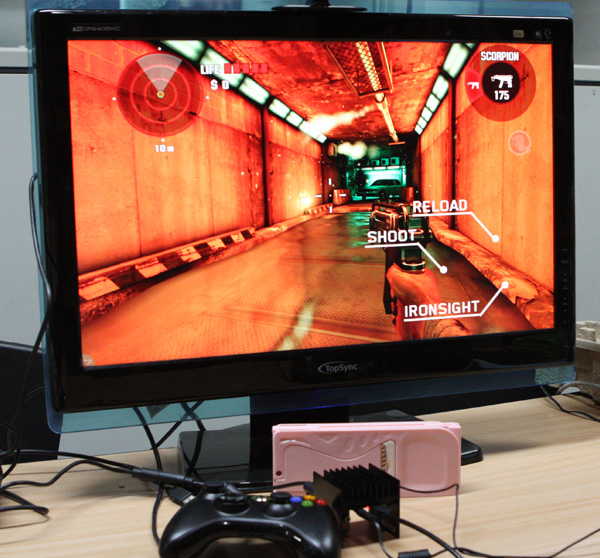
ODROID-U2 : Full-HD Shooting game (Android)


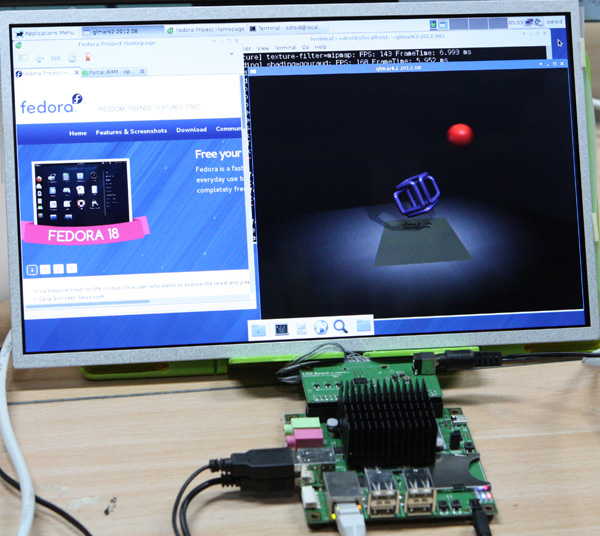
ODROID-X2 : Fedora 18 runs Web browser and 3D OpenGL-ES 2.0 Benchmarking tool GLMark2-ES2.


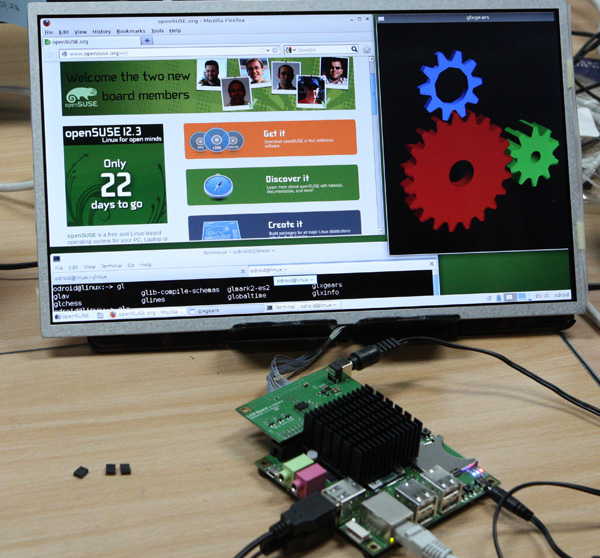
ODROID-X2 : OpenSUSE ARM 12.2 runs Web browser and 3D gear rendering.


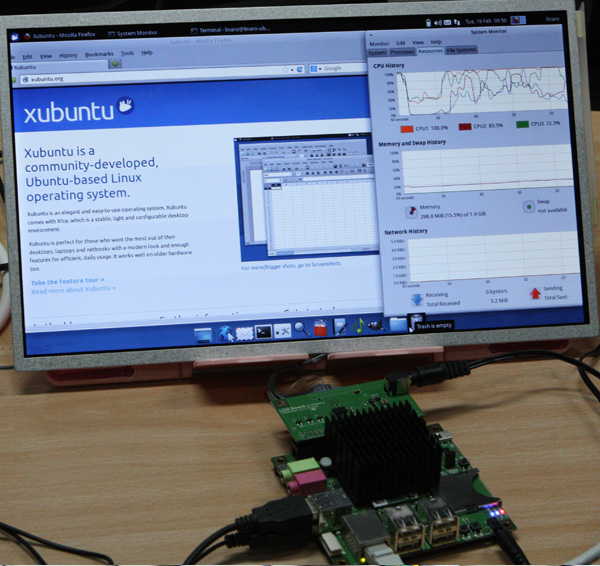
ODROID-X2 : Xubuntu runs Web browser and Quad-core system monitor.


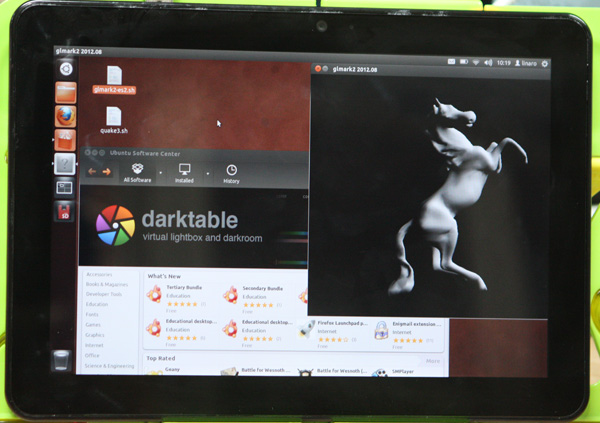
ODROID-Q2 : Ubuntu runs Software Center and GLMark2-ES2.

Quake3 playing demo by mdrjr;)


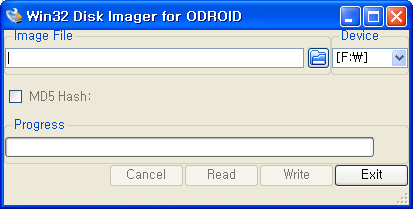
Improved Win32DiskImager

We already posted “How to make a bootable SD/microSD/eMMC” in this link.  http://www.hardkernel.com/?b130
But few people have met the problem of flashing SD with ‘win32DiskImager’ or ‘dd’ utility.

Those utilities read data from an OS image file and write it to storage media.
But USB host in your PC, USB memory card reader or SD card itself may have problem to perform the secure and stable image copy.

Because of those root causes, the OS image can’t be copied properly or corrupted in SD card.
So I decided to add a feature of verification of written image on the win32DiskImager Ver 0.6.

Basic flow of writing/verification is here!
1. Read 512KB from OS image file to buffer-a.
2. Write 512KB(buffer-a) to SD card.
3. Read 512KB from SD card to buffer-b.
4. Compare buffer-a with buffer-b. If they are different, stop the loop.
5. Increase pointer and goto #1 by end-of-file.

You can download the modified Win32DiskImage binaries in this link. It is working with WinXP/Win7.
http://dn.odroid.com/DiskImager_ODROID/win32diskimager2-binary.zip

Modified source code is here. You need the MinGW and Qt 4.8.4 SDK to compile it.
http://dn.odroid.com/DiskImager_ODROID/win32diskimager2-source_ODROID.zip

Note
1. The writing time is almost twice of the original version because of verification process.
2. The file name/path should not contain the 2-byte characters like Korean,Chinese,Japanese and so on.